Gear & Wellness: a practical guide
The fitness industry has managed to turn a strip of elastic into a lifestyle statement.
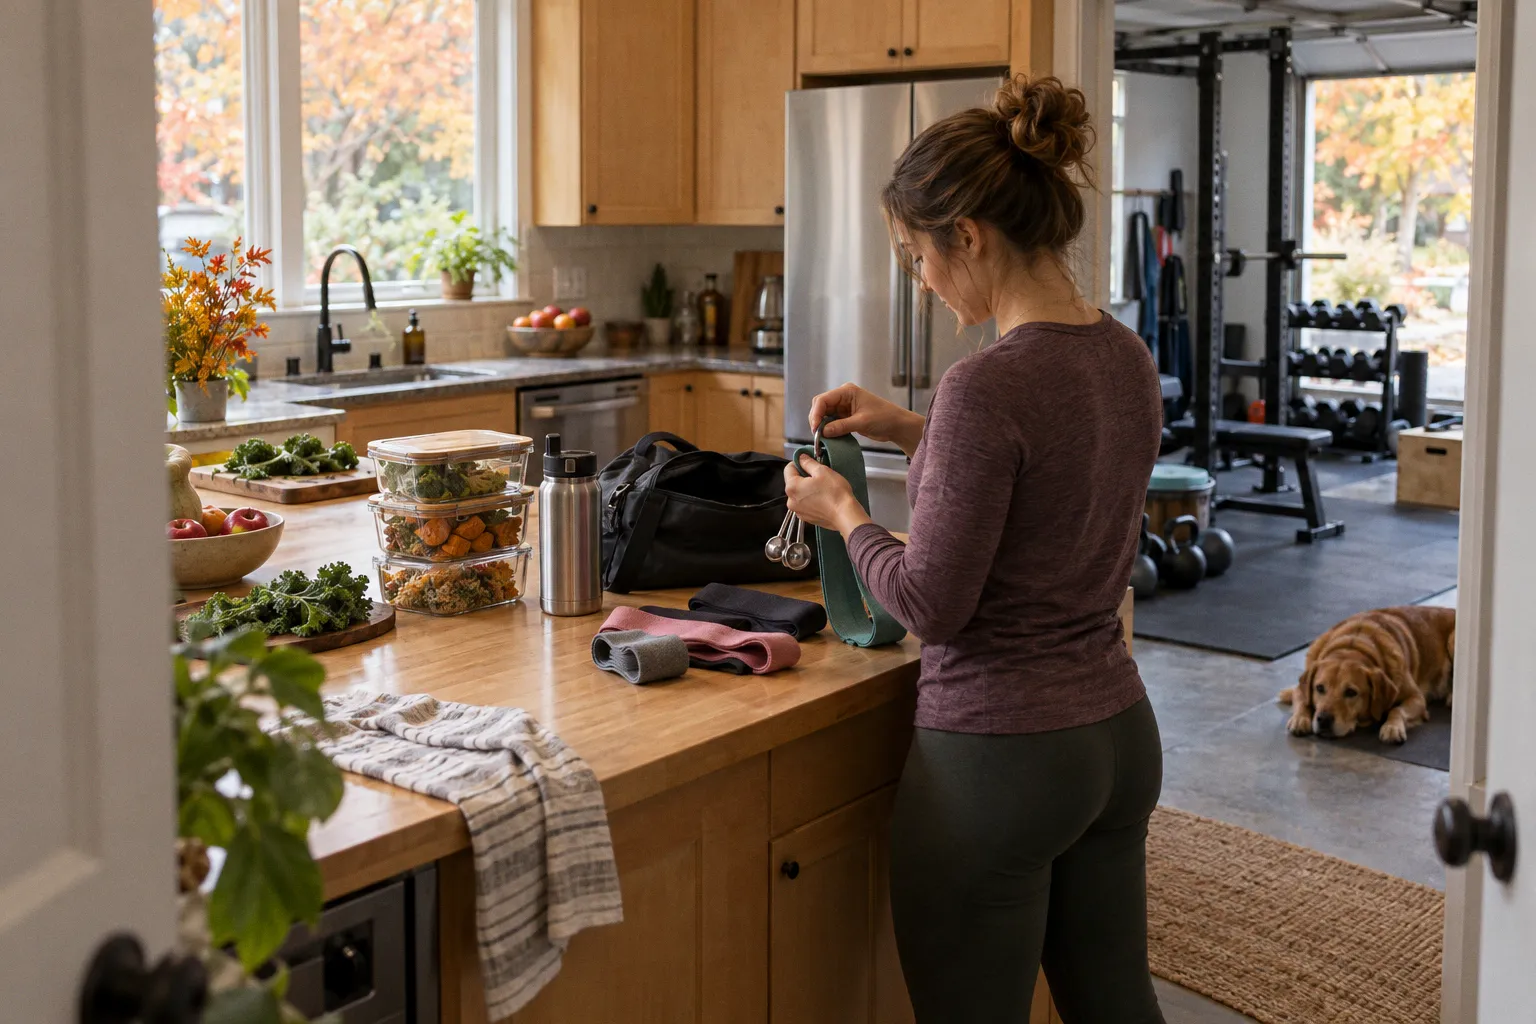
Gear & Wellness: A Practical Guide to Evaluating Fitness Equipment
Resistance bands now arrive in curated color palettes, minimalist travel cases, and packaging that suggests you are one purchase away from becoming the person who never misses a workout.
The band does not care about your aspirations. It cares about tension, material quality, anchor security, and whether you stored it next to a sunny window until the latex started quietly giving up.
If you are building a travel workout kit, upgrading a home setup, or choosing equipment for an online training program, the useful question is not whether the gear looks premium. It is whether the material, resistance range, construction, and safety features match the way you will actually train. Here is how I evaluate fitness equipment without getting distracted by branding, color schemes, or wellness theater.
Start with the material, because the material takes the punishment
Resistance bands are generally made from natural rubber latex, thermoplastic elastomer, or woven cotton-polyester fabric. Each material behaves differently under load, against skin, and during repeated stretching. None is automatically the winner. Anyone telling you otherwise is probably trying to sell you a particular band.
Natural latex: the elastic workhorse
Latex bands are popular for good reason. They provide smooth, progressive tension and can be manufactured in long power-loop formats, compact therapy bands, or tube systems with handles and attachments. Latex also tends to offer the most useful range for serious resistance training, from warm-ups to heavy compound movements and pull-up assistance.
The weakness is that latex is sensitive to conditions that do not appear in the product photos. UV exposure, heat, sharp edges, and poor storage can accelerate wear. A band left in direct sunlight or pressed against a rough door frame is not becoming more durable through positive thinking.
Latex is also less forgiving if it is damaged. A small nick can become a failure point when the band is stretched under load. That does not mean latex bands are unsafe by default. It means they deserve regular inspection and sensible anchoring.
TPE: practical, but not magical
Thermoplastic elastomer bands are often chosen by people who want a latex-free option. TPE can feel less tacky against the skin and may be more comfortable for some users during mobility work or rehabilitation-style exercises.
The trade-off is that the feel and stretch profile can differ noticeably from latex. Some TPE bands have a firmer, less elastic response. That may be useful for controlled movements, but it can feel abrupt if you expect the long, smooth pull of a latex power loop.
Do not assume that latex-free means failure-proof. TPE can still be damaged by sharp contact, excessive twisting, improper storage, or an anchor that turns the band into a rubbing experiment. The material changes; the laws of physics remain irritatingly consistent.
Fabric bands: comfortable and stable, within limits
Woven cotton-polyester bands are common in glute and hip training. They usually sit more comfortably around the thighs than thin rubber loops and are less likely to roll during lateral walks, squats, and abduction work.
Their stability is their appeal. Their limited stretch is also their limitation. Fabric bands are not a universal replacement for long latex loops or cable systems. A light fabric booty band may be excellent for warm-ups, glute activation, and lower-body accessory work, but it is not designed to provide the same exercise range as a long power band.
Typical light fabric bands may provide resistance around 11 kg to 13 kg, but the number only means something when the manufacturer explains how it was measured. Resistance can change with stretch length, body position, and the point in the movement. A single number printed on the package is not a substitute for context.
The best material is not the one with the most convincing marketing. It is the one that survives your training environment without changing its behavior.
What I look for on the product itself
Before buying, I want to know:
- Whether the material is clearly identified as latex, TPE, or woven fabric.
- Whether the band has visible seams, uneven thickness, rough edges, or inconsistent weaving.
- Whether the manufacturer explains the resistance range and how it was measured.
- Whether the equipment comes with storage guidance, especially for latex.
- Whether the band is intended for mobility, lower-body activation, strength training, or pull-up assistance.
If the product page spends more time describing the color palette than the construction, that is not proof of poor quality. It is simply a reason to keep looking.
Ignore the colors and find the actual resistance rating
Color coding is one of the most persistent sources of confusion in resistance-band shopping. There is no universal color standard across fitness manufacturers. A red band may be light in one range and heavy in another. A black band may be the strongest option from one brand and a moderate option from the next.
Color is decoration until the manufacturer connects it to a measurable resistance range.
For beginner training, bands commonly fall into low tension ranges of approximately 5 kg to 15 kg, or 5 lb to 15 lb. That range can be useful for learning movement control, warming up joints, and adding light resistance without forcing the body into ugly compensations.
But even a stated resistance figure needs careful reading. Is it the force at the starting length? At a particular stretch percentage? Is it a total load or the resistance of one band in a kit? Does the figure apply to a single tube, a loop, or the full combination of bands?
These details matter because band resistance is not fixed in the way a dumbbell’s mass is fixed. The farther the band stretches, the harder it usually pulls. Your body position changes the starting tension. A band anchored at chest height behaves differently from the same band anchored near the floor.
A more useful way to compare bands
When I compare resistance bands, I separate the information into three questions:
1. What is the starting tension?
This affects how difficult the first part of the movement feels and whether the band pulls you out of position before you are ready.
2. How much does the band increase in tension as it stretches?
A band may feel manageable at the start and become extremely demanding near the end of the range.
3. Can the resistance be adjusted without compromising control?
A kit with several clearly rated bands is more useful than one supposedly universal band with a vague label.
A product that lists only light, medium, and heavy without actual figures is not automatically bad. It is simply harder to compare with anything else. If you are following an online workout program, unclear resistance makes progression more difficult because you cannot reliably repeat the same setup.
Width matters: from 13 mm mobility bands to 61 mm power loops
Power-loop latex bands are commonly differentiated by width. Narrow bands around 13 mm are suited to mobility drills, warm-ups, shoulder activation, and lighter assistance work. Wider bands can provide substantially more resistance, with heavy options reaching approximately 61 mm in width.
That is not a decorative progression. More material generally allows the band to tolerate greater loading and provide higher resistance, although exact performance depends on thickness, length, material quality, and the manufacturer’s specifications.
A useful band collection might include:
| Band format | Typical use | What it does well | Where it falls short |
|---|---|---|---|
| Narrow loop, around 13 mm | Mobility and warm-ups | Shoulder work, activation, controlled stretching | Limited load for strength work |
| Medium-width loop | General resistance training | Rows, presses, squats, lower-body exercises | May not cover very light and very heavy needs equally well |
| Wide loop, up to around 61 mm | Heavy lifts and pull-up assistance | Compound movements and assistance work | Bulky, demanding, and easy to misuse |
| Fabric mini band | Glute and hip exercises | Lateral walks, abductions, activation | Limited range and less versatility |
| Tube kit with handles | Travel strength sessions | Rows, presses, curls, and cable-style movements | Depends heavily on anchor quality |
The common mistake is buying one very heavy band because it appears to offer more value. Then the user tries to perform shoulder work with it, loses control, and decides resistance bands are awkward. The equipment was not necessarily the problem. The selection was.
For a practical travel kit, versatility usually beats maximum resistance. Several moderate options let you scale a movement without turning every exercise into a fight for survival.
Resistance is not the same as difficulty
A heavy band does not automatically produce a better workout. Difficulty also depends on leverage, range of motion, tempo, pause duration, and how far the band is stretched before the repetition begins.
A light band used slowly through a full range can be more productive than a heavy band that forces you to shorten the movement. This is particularly relevant for shoulders, hips, and smaller joints, where control matters more than the bragging rights attached to the resistance label.
Travel workout kits: the anchor is part of the exercise
A modular travel workout kit usually combines resistance tubes with accessories such as padded door anchors, soft foam handles, and ankle straps. In theory, this replaces a stack of gym cables with a small bag that fits under a hotel bed.
In practice, the anchor determines whether the kit is useful or a liability.
A door anchor should distribute pressure rather than concentrate it on one narrow point. Padding matters because it reduces the chance of damaging the door or grinding the band against a hard edge. The anchor should also be compatible with the intended direction of pull. A setup designed for a closed door is not automatically safe when used on a loose interior door, a glass panel, or a door that opens toward the resistance.
The basic anchor sequence
Before loading a travel band system, I work through this sequence:
1. Check the door and frame.
The door should close securely, the hinges should be stable, and the frame should not flex or show damage.
2. Place the anchor away from sharp edges.
A smooth padded contact point is preferable to a thin corner or rough metal surface.
3. Close and test the door with light tension.
Do not begin with a full-strength pull. A short, controlled test reveals movement, slippage, and rubbing.
4. Inspect the band’s path.
The band should not scrape against the door, frame, floor, or furniture as it moves.
5. Keep the first repetitions conservative.
Sudden loading is how a questionable setup becomes a memorable one.
The room itself can also create problems. Hotel doors vary widely, and some have closers or security mechanisms that change how they behave under pressure. A band kit is portable, not exempt from inspection.
Handles and ankle straps
Foam handles improve comfort during presses, rows, and curls, but comfort is not the same as structural quality. The handle connection should remain stable under tension and should not show fraying, loose stitching, or a metal connector that twists into the band.
Ankle straps need similar scrutiny. They should sit securely without cutting into the skin or rotating sharply during hip extension and abduction exercises. If the strap slides before the band reaches working tension, the movement becomes inconsistent and the joint takes more of the punishment.
For travel, a kit is worth carrying when it gives you several reliable movement patterns:
- Horizontal pulling, such as rows.
- Pressing from different anchor heights.
- Squat and hinge variations.
- Rotational and anti-rotational exercises.
- Lower-body work using ankle straps.
- Mobility and warm-up drills with lighter loops.
A bag full of attachments is not automatically versatile. The question is whether the components create useful training options without requiring a door, chair, bed frame, and engineering degree for every exercise.
Portability is only an advantage when the equipment remains dependable after it leaves the living room.
Inspect bands for wear before the wear inspects you
The most important habit with resistance equipment is also the least glamorous: look at it before every session, especially when it has been stored, transported, or used against an anchor.
Latex bands can develop small cuts, cracks, thinning, or surface changes. The exact point at which a band fails depends on storage conditions, UV exposure, loading, and contact with abrasive surfaces. There is no universal cycle count that tells you a band has reached retirement age.
That uncertainty is not an excuse to ignore deterioration. It is a reason to inspect the actual equipment in front of you.
What to examine
Run your eyes and fingers along the band, looking for:
- Small nicks along the edges.
- Cracks or dry-looking sections.
- Areas that appear thinner than the rest.
- Blisters, bubbles, or unusual texture changes.
- Stretching that looks permanently deformed.
- Fraying around fabric seams.
- Loose stitching near handles or ankle straps.
- Damaged clips, carabiners, or anchor loops.
- Any area that rubs repeatedly against a hard surface.
Do not pull a visibly damaged band harder to see what happens. That is not a durability test. It is a poor decision wearing gym clothes.
Fabric bands have their own warning signs. Fraying around the seam, stretched stitching, and a band that no longer lies flat can indicate that the structure is weakening. If the material bunches or rolls in a new way, treat that as information rather than an inconvenience.
Storage is part of equipment maintenance
Latex and TPE bands should be stored away from direct sunlight, excessive heat, and sharp objects. Keeping them loose in a bag with metal attachments is an efficient way to create scratches. Separate the bands from clips and hard accessories, and avoid folding them tightly around rough edges.
Clean equipment according to the manufacturer’s guidance. Harsh chemicals can alter the surface, while leaving sweat and dirt on the band can make inspection more difficult. The goal is not to sterilize a resistance loop for a laboratory. The goal is to keep its surface visible and its material in predictable condition.
How to build a useful gear setup without buying the entire internet
A sensible travel or home fitness kit does not need every resistance level, attachment, and recovery accessory available. It needs to match the training you can perform consistently.
For most people, the most practical progression looks something like this:
- A light loop for warm-ups, mobility, and activation.
- A moderate loop or tube for general upper- and lower-body training.
- A heavier option for compound movements and assistance work.
- A reliable door anchor if travel workouts require cable-style exercises.
- Handles or ankle straps only when they expand the exercise menu.
- A storage method that protects the bands from sunlight and sharp contact.
Price can help set expectations. Standard travel resistance-band sets commonly fall within a broad range of roughly $10 to $28, depending on the number of bands, accessories, and construction details. A higher price may reflect better hardware or a more complete system. It may also reflect packaging, branding, or a pouch with more attitude than the product inside.
I would rather buy a smaller kit with clear resistance ratings and sound anchor components than a large set that lists only colors and vague intensity labels.
The right questions before you purchase
Ask yourself:
1. What movements will I actually perform?
If the answer is only glute activation and warm-ups, a large tube kit may be unnecessary.
2. Do I need latex-free materials?
If so, TPE or fabric may be more appropriate, but inspect construction just as carefully.
3. Will I use a door anchor?
If yes, the anchor and its padding deserve as much attention as the bands.
4. Can I identify the resistance in measurable terms?
Exact figures are not perfect, but they are more useful than color alone.
5. Can I progress without losing control?
A kit should give you manageable steps between too easy and absurdly heavy.
6. Can I inspect and store the equipment properly?
If it will live in a hot car or a sunlit window, the kit may not last as expected.
The verdict: buy for construction, not confidence
Resistance bands are among the most useful pieces of portable fitness equipment available. They are light, inexpensive compared with many gym machines, and capable of supporting mobility work, strength training, warm-ups, and travel workouts.
They are also easy to misjudge.
The color does not tell you the resistance. The price does not guarantee safe construction. A fabric band is not a replacement for every latex loop. A travel kit is not safe simply because it includes a door anchor. And a band that survived the last workout is not automatically ready for the next one.
My rule is blunt: choose the material for your needs, demand a clear resistance rating, match width to the movements you plan to train, inspect every contact point, and retire anything that shows meaningful damage. That approach is less exciting than buying a neon-colored bundle with a motivational slogan. It is also much more likely to keep your training moving forward.
Gear should take wear and tear so your joints do not have to.
FAQ
How do I know which resistance band material is best for me?
Why should I ignore the color of my resistance bands?
How can I safely use a door anchor for my resistance bands?
How do I check if my resistance band is damaged?
How should I store my resistance bands to make them last longer?
More products
 Motion EnergyUSD49