Home Workout Program: Checklist Before You Start
Starting a home workout program looks simple until the first session exposes everything you failed to prepare for: a mat that slides across the floor, a dumbbell parked in the walking path, a room…
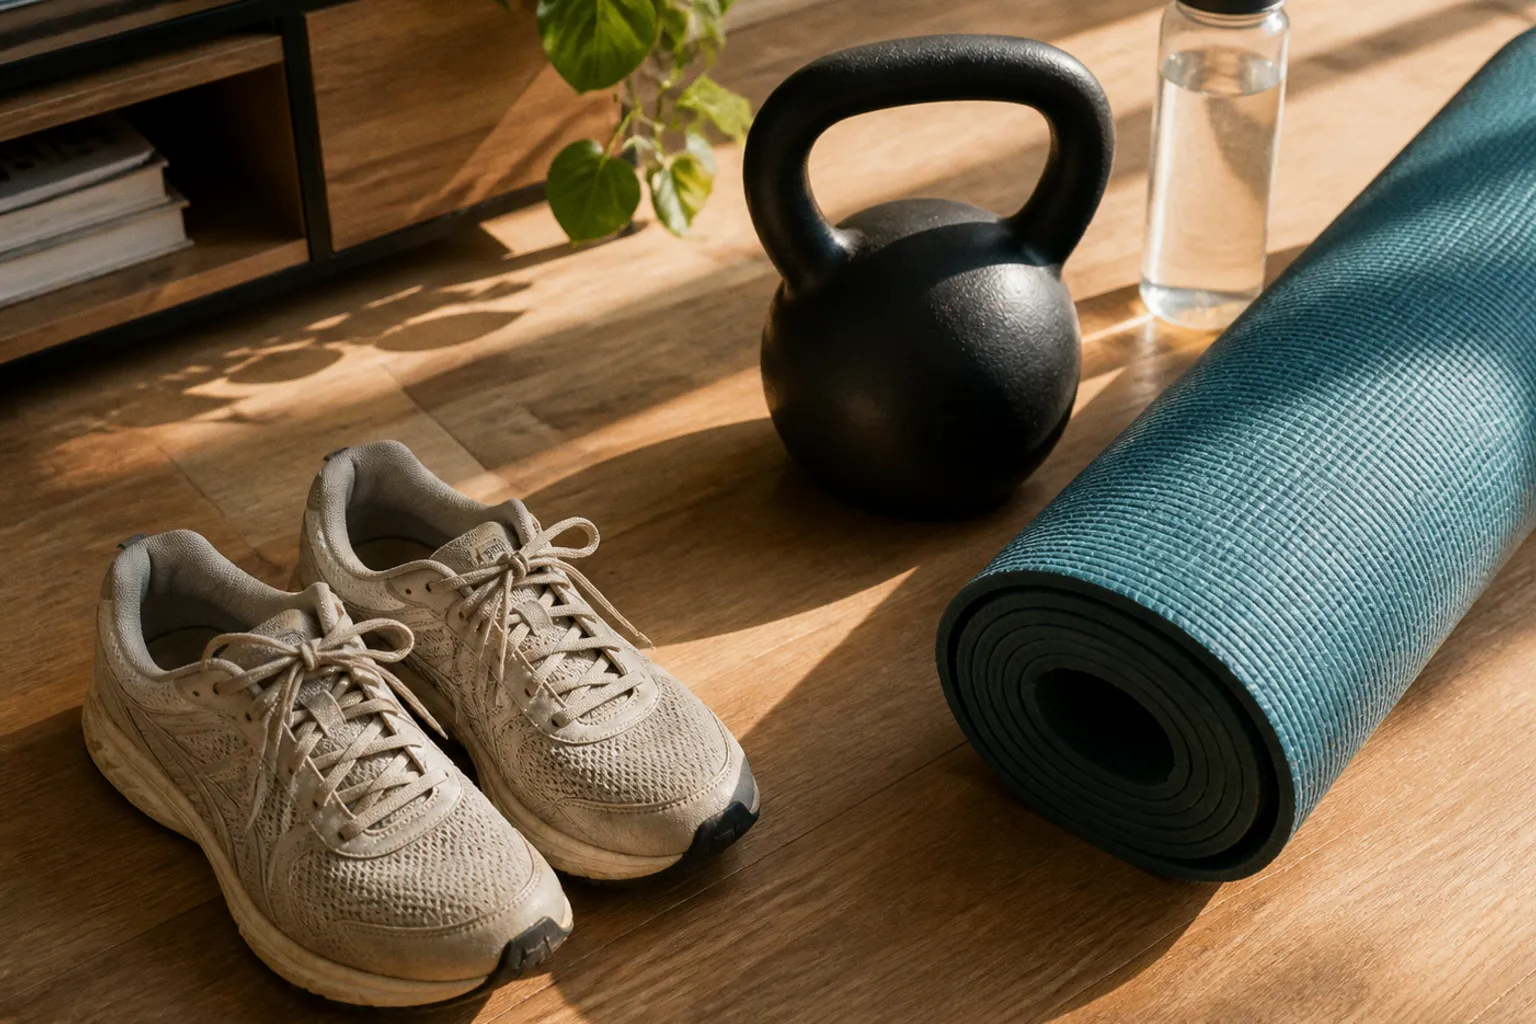
Starting a home workout program looks simple until the first session exposes everything you failed to prepare for: a mat that slides across the floor, a dumbbell parked in the walking path, a room with no airflow, and a training plan that asks more from your body than it is ready to give.
That is why preparation matters. Not because you need a designer home gym or a shelf full of supplements, but because the details around the workout determine whether the session is safe, repeatable, and realistic. A useful home workout program checklist before starting should cover your health, your space, the room climate, hydration, and the equipment you will actually use.
The goal is not to make home training complicated. It is to remove the avoidable problems before they interrupt your first week.
Medical Readiness: Using the PAR-Q Screening Tool
The least exciting part of starting a workout program is also the part people are most tempted to skip. Before you increase your activity level, use the Physical Activity Readiness Questionnaire, commonly known as the PAR-Q, as an initial screen.
The PAR-Q is not a medical examination and it does not diagnose anything. It is a short series of questions designed to identify situations in which you may need medical advice before beginning or substantially increasing exercise. The questions address issues such as chest pain during activity, dizziness or loss of consciousness, known heart conditions, blood pressure medication, and problems involving muscles, joints, or bones.
For adults in the usual PAR-Q age range, a “yes” answer is a reason to pause and seek guidance from a qualified healthcare professional before moving into demanding training. That does not automatically mean exercise is off the table. It means the intensity, movements, or progression may need to be adapted to your circumstances.
This distinction matters. A screening form is a doorway to a better decision, not a certificate saying that every exercise is safe for you.
What to consider before starting
Take the questions seriously rather than treating them as administrative paperwork. In particular, slow down if you have:
- Chest discomfort, unusual shortness of breath, dizziness, or fainting during exertion.
- A diagnosed cardiovascular, metabolic, or respiratory condition.
- High blood pressure or medication that affects blood pressure or heart rate.
- A recent injury, persistent joint pain, or a condition that limits your range of motion.
- A history of symptoms that appear during exercise but disappear when you stop.
- A long period of inactivity followed by plans for high-intensity intervals, heavy lifting, or demanding plyometrics.
You do not need to prove that you are “tough enough” to train through warning signs. If a movement produces sharp pain, instability, numbness, or symptoms that feel different from ordinary muscular effort, stop and reassess. A home workout gives you freedom, but it also removes the immediate supervision that might otherwise prompt you to modify the session.
If you take medication, are pregnant or recently postpartum, or are returning to exercise after surgery or a significant illness, general online advice may not be specific enough. A clinician can help define the boundaries of your training, while a qualified trainer can help translate those boundaries into a practical program.
A screening tool can tell you when to ask for help. It cannot replace the help itself.
There is also a programming question here. Medical readiness is not only about whether you can exercise; it is about which version of exercise makes sense today. Someone cleared for regular activity may still need a gradual return, lower-impact substitutions, longer rest periods, or a smaller range of motion. The first stage of an at home fitness plan preparation is making those decisions before the workout begins, not halfway through a set.
Designing a Hazard-Free Training Environment
Your living room does not need to look like a commercial gym. It does need to stop behaving like an obstacle course.
Many preventable home workout problems begin with the environment rather than the exercise itself. A loose cable, a curled rug, a low coffee table, or a poorly secured resistance band can turn an ordinary movement into an awkward landing. These are not reasons to abandon home training. They are reasons to spend a few minutes arranging the room properly.
Start with the floor. Remove anything that can move, catch a foot, or interfere with your hands when you are close to the ground. That includes:
- Loose rugs and mats that bunch up under pressure.
- Charging cables, headphones, and extension cords.
- Pet bowls, toys, and other objects that migrate across the floor.
- Small furniture that sits inside your movement path.
- Weights or accessories left where you may step backward.
- Slippery surfaces that become less stable when you sweat.
A yoga mat can improve comfort and traction, but it does not automatically make every floor safe. On polished wood, tile, or another slick surface, check whether the mat stays in place during lunges, planks, lateral steps, and transitions from standing to the floor. If it shifts, the problem is not your balance. The setup needs changing.
Match the space to the workout
The amount of room you need depends on the movements in the program. Mobility work and controlled bodyweight exercises may require little more than enough space to lie down and extend your arms and legs. Workouts that include lateral movement, jumping, kettlebell swings, or a barbell require more clearance.
Before pressing play, test the main positions in the session:
1. Lie down and extend both arms overhead and out to the sides.
2. Stand with your feet wide enough for a squat and reach in every direction.
3. Step forward, backward, and laterally without touching furniture.
4. Raise your arms overhead and check shelves, ceiling fans, and light fixtures.
5. If the workout uses weights, rehearse the path of the equipment with no load.
6. Leave enough room to put the equipment down without dropping it onto a foot or blocking an exit.
This quick rehearsal is especially useful when a program moves quickly between exercises. The space that works for a stationary strength session may be completely unsuitable for a circuit with burpees, mountain climbers, or jumps.
Equipment that bears your body weight deserves its own inspection. Pull-up bars, suspension trainers, wall-mounted anchors, and resistance-band attachments must be installed according to the manufacturer’s instructions and fixed to a surface that can handle the load. Drywall alone is not a reliable substitute for structural support. Check the hardware regularly, particularly if the equipment is exposed to repeated pulling, swinging, or sudden changes in tension.
Lighting is practical, not decorative. You should be able to see your feet, the floor, and the position of your joints. A dim room makes it harder to notice that your knee is collapsing inward or that your mat has shifted. If you follow video instruction, place the screen where you can see it without twisting your neck or walking through the workout while looking over your shoulder.
The safest home workout setup is usually the least cluttered one. You do not need to reproduce a gym. You need a clear, stable area that suits the movements you have chosen.
Optimizing Your Home Workout Climate
Temperature and airflow affect how hard a session feels. A warm room can increase discomfort, sweating, and perceived exertion before the workout has become meaningfully more productive. It can also make it harder to judge whether fatigue is coming from the training itself or from the environment.
There is no single indoor temperature that suits every person, workout, or season. A comfortable, well-ventilated room is the useful target. If your home workout area feels stuffy before you start, it will probably feel worse once your breathing and body temperature rise.
Use the room as feedback:
- Open a window or door when outdoor conditions allow.
- Use a fan to move air across the room and help sweat evaporate.
- Avoid placing the fan so close or so aggressively that it dries your eyes or makes communication difficult during a coached session.
- Keep direct sunlight from turning a small room into a heat trap.
- Move intense training away from the hottest part of the day if your home has poor cooling.
- Wear clothing that allows heat and moisture to escape.
- Take longer rests when the room is unusually warm or humid.
Ventilation is also a concentration issue. Stale air can make a session feel unpleasant even when the exercise selection is appropriate. A sealed room is not a badge of commitment, and sweating more is not proof that the workout is working better. Heat can increase fluid loss without improving the quality of your technique or progression.
If you are training in a hot or humid environment, reduce the intensity before you reduce your standards. Slow the pace, extend the rest periods, choose lower-impact variations, and stop if you develop confusion, unusual weakness, nausea, severe headache, or symptoms that do not improve with rest and cooling. Children, older adults, and people with certain health conditions may be more vulnerable to heat-related problems and should take extra care with the environment.
The same principle applies in cold rooms. Cold muscles and stiff flooring can make warm-up movements feel more demanding. Begin with gradual, low-intensity movement rather than jumping immediately into maximal effort. Your climate setup should support the program instead of becoming another stressor the body has to manage.
Hydration Strategies for Peak Performance
Water is easy to ignore at home because it is always nearby. That convenience can work against you: without a plan, you may start training with an empty bottle and only remember hydration once the session is over.
Fluid needs vary with body size, exercise intensity, duration, temperature, humidity, clothing, and individual sweat rate. A short strength or mobility session in a cool room does not require the same strategy as a long, vigorous workout in summer. Avoid treating a single universal number as a rule for everyone.
A practical approach is to divide hydration into three moments.
Before the workout
Begin the session normally hydrated rather than trying to compensate with a large amount of water immediately beforehand. Drink with meals and in the hours leading up to training, then keep a bottle ready in the workout area. This is more comfortable and more useful than forcing down a large volume just before you start.
Urine color can provide a rough indication of hydration, but it is not a perfect diagnostic tool. Certain foods, supplements, and medications can change its appearance. Use it alongside ordinary signals such as thirst, dry mouth, unusual fatigue, headache, and a noticeable drop in exercise tolerance.
During the workout
For most short, moderate home sessions, sipping according to thirst is a reasonable starting point. Longer or more intense training may require more deliberate drinking, especially in a hot room or if you sweat heavily.
Take small drinks at natural breaks rather than waiting until you feel desperate for water. If the workout includes rapid transitions, place the bottle where you can reach it without crossing the movement area. That keeps hydration available without creating another trip hazard.
Electrolyte drinks may be useful during prolonged, sweaty exercise or training in significant heat. They are not automatically necessary for every session. For ordinary workouts, plain water and regular meals are often enough. Very large amounts of water consumed quickly can also be dangerous, so more is not always better.
After the workout
Replace fluids gradually after training, particularly if your clothing is noticeably wet or you exercised in heat. A scale can help estimate short-term fluid loss when used consistently, but day-to-day body weight also changes for reasons unrelated to hydration. You do not need to turn every home workout into a laboratory exercise.
Include normal food after demanding sessions. Meals provide fluids and electrolytes as well as energy and protein. If you experience persistent dizziness, confusion, vomiting, severe weakness, or other concerning symptoms, stop exercising and seek appropriate medical care rather than trying to solve the problem with another drink.
Hydration should make the workout easier to manage, not become another performance test.
Selecting Essential Gear for Sustainable Progress
The home fitness market is very good at making basic training feel incomplete. It can seem as though progress requires a smart mirror, a cable machine, a collection of specialty shoes, and enough accessories to fill a spare bedroom.
It does not.
The right equipment is the equipment that gives you more useful training options without creating new safety or storage problems. Start with the movements and progression your program requires, then buy only what supports them.
| Starting level | Useful equipment | What it supports |
|---|---|---|
| Basic | Stable exercise mat, water bottle, timer, comfortable clothing | Mobility, floor-based work, bodyweight strength, simple conditioning |
| Expanding | Resistance bands and one or more pairs of dumbbells | More loading options, rowing and pressing variations, progressive strength work |
| Strength-focused | Adjustable dumbbells, a stable bench, heavier resistance, or a kettlebell | Greater resistance, unilateral training, loaded lower-body and upper-body exercises |
| Advanced home setup | Properly installed pull-up equipment, rack, barbell, plates, and suitable flooring | More demanding strength programming, provided the space and installation are appropriate |
The table is a progression of options, not a shopping mandate. You may never need the advanced setup. If your program is built around walking, mobility, Pilates, yoga, bodyweight strength, or moderate resistance training, a large equipment investment would add cost without necessarily adding consistency.
Begin with the smallest setup that lets you train well. A mat, a pair of appropriately challenging dumbbells, and a method for recording sessions may be enough for a substantial program. Once you know which movements you enjoy and which forms of resistance you can use safely, expand deliberately.
Choose gear for the program, not the advertisement
Before buying anything, ask:
- Does the program actually use this equipment?
- Can I store it safely?
- Will I be able to adjust the resistance as I become stronger?
- Is it stable during the movements I plan to perform?
- Can I inspect it for wear or damage?
- Will another person in the household need to use the space?
- Does the equipment create noise or impact that could affect neighbors?
Resistance bands deserve particular attention. Inspect them for cracking, fraying, thinning, or damage around the handles and anchor points. Do not use a band that shows signs of deterioration. Keep your face and other people away from the line of tension, and make sure an anchor is designed for the type of pulling you are doing.
Adjustable weights should lock securely and remain stable through the full range of motion. A compact design is useful only if it does not compromise control. The heaviest option is not automatically the best option; the best choice is one that allows clean repetitions, gradual progression, and safe storage.
A logbook or training app can be more valuable than another accessory. Record the exercise, resistance, repetitions, sets, rest, and a brief note about how the session felt. This gives you a way to see progression and identify patterns. If every workout is improvised, it becomes difficult to know whether you are improving, repeating the same effort, or simply accumulating fatigue.
Progressive overload does not always mean adding more weight. You can increase repetitions, improve range of motion, slow the lowering phase, reduce unnecessary rest, add a set, or choose a more challenging variation. The method should match your goal and your ability to maintain good technique.
Turning Preparation Into a Routine
A home workout program checklist before starting is useful only if it becomes part of the routine. The first check can be thorough. After that, the process should become quick enough that it does not feel like a separate project.
Before each session, run through the basics:
- Is the floor clear and dry?
- Is the mat stable?
- Are bands, handles, and fasteners in good condition?
- Is there enough room for the movements in today’s program?
- Can you see the screen and your own position clearly?
- Is the room comfortable and ventilated?
- Is water within reach?
- Do your current energy levels and symptoms match the planned intensity?
That final question is easy to miss. A plan written on a good day does not have to dictate what happens on a poor one. If you slept badly, feel unusually sore, or are recovering from illness, reduce the volume or choose a gentler session. Consistency is not the same as forcing every workout to look identical.
A useful home fitness routine checklist also includes what happens after training. Put weights away, inspect equipment that took heavy use, wipe down surfaces where needed, and leave the room ready for the next session. This reduces friction. When the next workout area is already clear, starting requires less negotiation with yourself.
The best home workout setup is not the most impressive one. It is the one that makes the next sensible session easy to begin.
The Verdict: Preparation Is Part of the Program
Home training works well when the environment supports it. You do not need a perfect room, an expensive equipment package, or an elaborate pre-workout ritual. You do need a realistic plan for your health, your floor, your climate, your fluids, and your equipment.
Start by screening for reasons to seek medical guidance. Clear the training area and test the movement paths. Improve ventilation and adjust the intensity to the conditions. Keep water available without overcomplicating hydration. Buy only the equipment that your program can use safely, then track your work so progress is visible.
Five minutes of preparation will not guarantee perfect training. It will do something more useful: remove several avoidable reasons for a workout to go badly.
That is the standard worth aiming for. Not a dream setup, but a repeatable one—clear floor, sensible progression, working equipment, and a plan your body and your home can actually support.