Glute Activation Workouts: A Pre-Training Checklist
The idea that your glutes are “asleep” after a day at a desk is catchy, but it is not a useful diagnosis. Muscles do not go into hibernation because you spent several hours sitting.
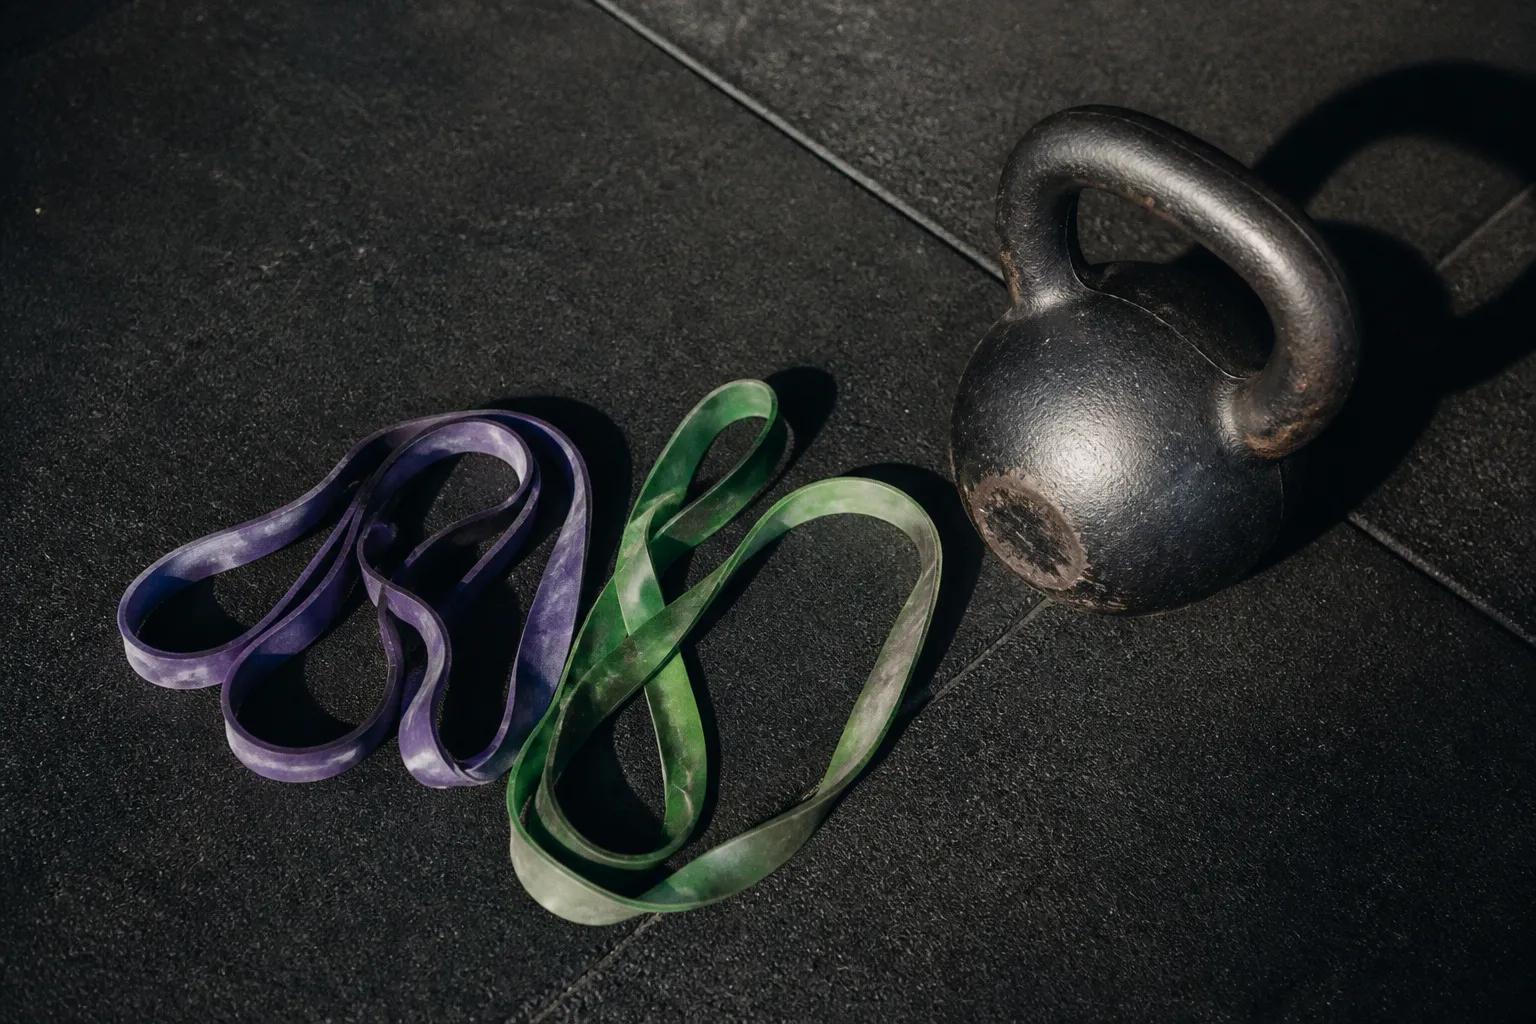
What can change is how efficiently you recruit them for a particular task, especially when you move from a sedentary day straight into squats, deadlifts, running, or single-leg work.
That distinction matters. A glute activation workout is not meant to repair a broken muscle or replace strength training. It is a short, low-load rehearsal that gives you a chance to feel the intended movement, check your alignment, and find a cleaner hip-extension or hip-stabilization strategy before fatigue and heavy resistance complicate the picture.
The best glute activation preparation checklist is therefore simple: choose a few drills that match the demands of the session, use enough resistance to create intent without creating fatigue, and treat the result as information. Some people notice a clearer contraction immediately. Others need several sessions to improve coordination, and some discover that the real limitation is mobility, pain, technique, or insufficient strength rather than a lack of activation.
Activation is not the workout. It is a primer: enough practice to improve the next movement, not enough volume to drain the muscles before it begins.
The Science of Neural Recruitment: Why Activation Matters
When someone says their glutes are not working, they are usually describing a movement experience rather than a precise physiological condition. They may feel their hamstrings or lower back taking over during a bridge. Their knees may drift inward during a squat. They may struggle to keep the pelvis level during a step-down. Or they may simply fail to feel much in the glutes despite completing an exercise that should involve them.
The relevant idea is neural recruitment: the nervous system has to coordinate the timing and intensity of muscle contractions required by a task. Recruitment is not an on-or-off switch. It changes with the position of the joints, the direction of force, the speed of movement, the external load, fatigue, balance demands, and the skill of the person performing the exercise.
That is why an exercise that creates a strong glute contraction in a controlled warm-up may not feel identical once you are holding a barbell. A bodyweight bridge, a single-leg squat, and a heavy Romanian deadlift all involve the gluteal complex, but they ask it to contribute under different conditions. The nervous system does not use one fixed glute-firing pattern for every movement.
A 2023 study published in the European Journal of Applied Physiology has been cited for a practical distinction: hip-extension patterns tend to produce high peak activity in the gluteus maximus, while resisted hip-abduction drills tend to emphasize the gluteus medius. That does not mean one exercise isolates one muscle perfectly, or that a higher activity reading automatically predicts better strength or muscle growth. It does suggest that exercise selection should match the task you are preparing for.
If the main session includes hip thrusts, deadlifts, or squats, a brief extension drill can help you rehearse pushing through the hips without arching aggressively through the lower back. If the session includes running, lateral movement, step-downs, or split squats, an abduction or single-leg stability drill may be more relevant. You are not trying to force every part of the gluteal complex to work equally. You are preparing the coordination the next exercise will require.
What an activation routine can and cannot do
A useful pre-workout glute activation routine may help you:
- practise controlled hip extension without relying on momentum;
- notice whether the pelvis stays neutral or tips forward as effort increases;
- improve awareness of the stance leg during single-leg movements;
- identify an obvious side-to-side difference before loading the pattern;
- raise local temperature and prepare the hips for the range of motion used in training;
- reduce the temptation to compensate with the lower back, hamstrings, or trunk.
It cannot guarantee perfect mechanics, prevent every injury, or correct a long-standing movement problem in a few minutes. It also cannot replace progressive resistance. If your goal is stronger or larger glutes, the main stimulus still comes from challenging sets performed with appropriate load, range of motion, and progression.
The mind-muscle connection belongs here, but it needs to be kept practical. Paying attention to where you feel a movement is not magic, and it is not a substitute for good programming. It is a way of directing attention toward the intended joint action. A slow bridge with a deliberate pause can make it easier to understand hip extension. That understanding may then carry into the first loaded sets, although the transfer will vary from person to person and from exercise to exercise.
Anatomy of the Gluteal Complex: Maximus, Medius, and Minimus
“Glutes” is a convenient label, not a single muscle with one job. The gluteal complex includes the gluteus maximus, gluteus medius, and gluteus minimus. They overlap in their contribution to hip control, but their positions and actions are different enough to matter when you design a glute activation guide.
Gluteus maximus
The gluteus maximus is the largest of the three. Its main role is hip extension: driving the thigh backward relative to the pelvis. It also contributes to external rotation and helps control the hip when the leg is loaded.
You will usually ask more from it in movements such as:
- hip thrusts and glute bridges;
- deadlifts and Romanian deadlifts;
- squats, especially as you stand from the bottom position;
- reverse lunges and split squats;
- step-ups;
- sprinting and other forceful hip-extension tasks.
A good preparation drill for the maximus should not turn into a lower-back extension drill. If the ribs flare, the pelvis tips forward, or the movement becomes a dramatic arch through the lumbar spine, the exercise may still look like a bridge or kickback while the intended hip action becomes less clear.
Gluteus medius
The gluteus medius is positioned on the outer surface of the pelvis. It contributes to hip abduction, helps control the femur, and plays an important role in keeping the pelvis organized when you stand on one leg.
It is involved in:
- lateral band walks;
- side-lying hip abduction;
- single-leg squats and step-downs;
- running and walking;
- lateral lunges and changes of direction.
The medius is not responsible for holding the entire pelvis in place by itself. Foot position, trunk control, hip mobility, and the strength of other muscles all influence what happens in a single-leg task. Still, a stance-side medius that cannot contribute effectively may make it harder to keep the pelvis level or the knee tracking in a controlled line.
Gluteus minimus
The gluteus minimus lies beneath the medius and assists with hip abduction and control of the femur. It is smaller and less obvious to feel, which is one reason it is often turned into a marketing target. In practice, you rarely need a separate “minimus-only” exercise. Controlled abduction and single-leg work will generally involve it alongside the medius.
The practical takeaway is not that each muscle needs its own exhausting circuit. It is that a complete glute activation exercises checklist should include both broad movement categories:
- Hip extension: bridges, hip thrust variations, kickbacks, and controlled hinge-based drills.
- Hip abduction and frontal-plane control: clamshells, lateral walks, side-lying abduction, and single-leg preparation.
A warm-up built only around bridges may prepare hip extension while leaving the single-leg stability demand unaddressed. Match the drill to the work that follows.
Identifying Signs of Poor Recruitment: Knee Valgus and Pelvic Drop
Before adding more exercises, watch how you move. Activation is most useful when it responds to a real observation rather than being performed because every fitness video includes a mini-band.
Use a mirror, a short phone recording, or a lighter warm-up set to check the following patterns. None is a diagnosis on its own. They are prompts to slow down, reduce the load, or adjust the exercise.
Knee valgus during squats, step-downs, or landings
Knee valgus describes the knee moving inward relative to the foot and hip. A small amount of movement is not automatically dangerous, and no joint has to remain frozen in one perfectly vertical line. The concern is a loss of control that appears repeatedly, especially when the movement becomes heavier, faster, or more fatigued.
If the knee collapses inward during a step-down, try reducing the step height and controlling the descent. If it happens during a squat, check whether the stance is too narrow, the load is too ambitious, or the foot is losing contact with the floor. A lateral hip drill may help you practise controlling the femur, but it will not compensate for a load or range of motion that exceeds your current capacity.
Pelvic drop during single-leg work
Stand on one leg and observe the opposite side of the pelvis. During a step-down or single-leg squat, the free-side hip may drop if the stance leg and trunk are not controlling the position well. This can reflect limited strength or coordination at the hip, but ankle mobility, balance, fatigue, and exercise setup can influence it too.
Start with a supported version. Hold a rack or wall, keep the movement shallow, and focus on maintaining a level pelvis without leaning dramatically away from the stance leg. Side-lying abduction and lateral walks can be useful preparation, but the most specific practice is a controlled single-leg task.
Lower-back dominance during hip extension
Feeling the lower back more than the glutes during bridges, hip thrusts, or kickbacks often means the movement is being completed through spinal extension rather than the hips. It may also mean the pelvis is starting in a position that makes the glute contraction difficult to recognize.
Try a smaller range of motion, keep the ribs stacked over the pelvis, and pause before the back begins to arch. You should not need to drive the hips higher and higher to prove that the exercise is working. A lower bridge with a stable trunk is more useful than a high bridge achieved through lumbar movement.
Hamstrings taking over every bridge
The hamstrings are supposed to contribute to many hip-extension movements, so their involvement is not a failure. The issue is whether they cramp immediately or dominate so strongly that you cannot control the pelvis.
Bring the heels slightly closer if that improves your position, reduce the range, and exhale gently as you lift. You can also begin with a bilateral bridge before trying a single-leg variation. If the hamstrings continue to cramp, the problem may be fatigue, positioning, or simply an exercise that does not suit you well that day.
These signs do not prove that a muscle is inactive. They show that the current strategy deserves attention. Pain, persistent weakness, numbness, or a major side-to-side difference should not be handled by adding more band exercises; seek assessment from a qualified clinician.
Targeted Pre-Workout Drills for Maximum Muscle Engagement
A practical glute activation workout preparation checklist usually takes around five to ten minutes. Use bodyweight or a light mini-band, move slowly enough to control the position, and stop well before the muscles are shaking from fatigue.
The exact sets and repetitions are starting points, not laws. Two sets of eight controlled repetitions may be more useful than three rushed sets of fifteen. A recreational lifter returning from a break may need less. Someone preparing for a demanding lower-body session may want only a few low-fatigue rehearsals before moving into progressive warm-up sets.
Extension-focused drills
Banded glute bridge
Place a mini-band above the knees and lie on your back with the feet planted. Keep the ribs relaxed, press through the feet, and lift the pelvis until the hips are extended without forcing the back into an arch. Maintain gentle outward pressure against the band, but do not let the knees drift so far apart that the feet lose their position.
Perform 10–15 controlled repetitions for two sets. A brief pause at the top is enough; the pause should improve control, not turn the drill into a maximal isometric effort.
Single-leg glute bridge
Use this only if you can perform a bilateral bridge without cramping or losing pelvic control. Keep the pelvis as level as possible while one leg is lifted. Drive through the planted foot and use a smaller range if the hips rotate or the back takes over.
Perform 8–12 repetitions per side for one or two sets. This is a stability drill as much as an extension drill, so quality matters more than matching the repetitions on the stronger side.
Standing cable hip extension
Attach a light ankle cuff and stand tall with support from a rack or cable column. Move the working leg backward from the hip without leaning forward or arching the spine. The leg does not need to travel far behind you. The goal is a clean contraction, not the largest possible kick.
Perform 10–12 repetitions per side for one or two sets. Keep the resistance modest enough that the pelvis remains still.
Abduction and stability drills
Banded clamshell
Lie on your side with the knees bent and the band above them. Keep the feet together and rotate the top knee upward without rolling the pelvis backward. If the torso starts to twist, reduce the range.
Perform 10–15 repetitions per side for one or two sets, pausing briefly at the top. This is a small movement. Turning it into a large, fast rotation does not make it more effective.
Lateral band walk
Place the band above the knees or around the ankles, depending on your control and the resistance available. Bend slightly at the hips and knees, keep the feet generally parallel, and take controlled steps sideways. Avoid swaying the trunk or snapping the feet together between steps.
Take roughly 8–12 steps in each direction for one or two rounds. Keep the resistance light enough that the final steps still look like the first.
Side-lying hip abduction
Lie on your side with the lower knee bent for balance and the top leg long. Lift the top leg slightly behind the line of the body, keeping the toes pointing mostly forward. A small range is usually sufficient. If the hip rolls backward, the movement has become less targeted.
Perform 10–15 repetitions per side for one or two sets. An ankle weight is optional and generally unnecessary for a pre-training primer.
A flexible order for the drills
There is no single universal sequence in which the glutes must fire. Recruitment and co-contraction depend on the task, the person, the load, and the position. The order below is simply a practical option because it moves from low-complexity drills toward movements that more closely resemble single-leg or loaded hip work:
1. Begin with one controlled abduction drill, such as clamshells or side-lying hip abduction, if the session involves running, step-downs, lunges, or lateral movement.
2. Add a bridge or standing hip-extension drill if the main work emphasizes hip extension.
3. Finish with a low-intensity version of the actual training pattern, such as an unloaded hinge, bodyweight split squat, or slow step-down.
4. Move into your normal warm-up sets, increasing load gradually rather than jumping directly from the band routine to a working weight.
You can reverse that order when the main session is dominated by hip extension and your priority is practising the bridge or hinge pattern first. The best sequence is the one that improves your control without adding fatigue or making the session unnecessarily long.
| Drill | Main emphasis | Simple starting dose | What to watch |
|---|---|---|---|
| Banded glute bridge | Hip extension and pelvic control | 10–15 reps, 1–2 sets | Ribs and pelvis stay controlled; no aggressive back arch |
| Single-leg glute bridge | Hip extension with asymmetrical stability | 8–12 per side, 1–2 sets | Hips do not rotate or drop |
| Banded clamshell | Hip abduction and external-rotation control | 10–15 per side, 1–2 sets | Pelvis stays stacked; movement remains small |
| Lateral band walk | Frontal-plane hip control | 8–12 steps each direction, 1–2 rounds | Feet and knees stay coordinated; trunk does not sway |
| Side-lying hip abduction | Medius and minimus contribution | 10–15 per side, 1–2 sets | Toes stay mostly forward; leg does not swing |
| Standing cable hip extension | Controlled unilateral hip extension | 10–12 per side, 1–2 sets | Torso and pelvis remain quiet |
How to know when the primer is doing its job
You do not need a dramatic burn. Look for practical changes:
- the first warm-up set feels more coordinated;
- you can keep the pelvis or knee position with less conscious effort;
- the intended muscle contributes without cramping;
- the movement range is controlled on both sides;
- the drill leaves you ready to train rather than tired before training begins.
If you feel less powerful, unusually shaky, or locally fatigued after activation, reduce the number of exercises, sets, or repetitions. A primer that compromises the working sets is poorly dosed, even if it creates an impressive burn.
Integrating Activation into Your Weekly Training Volume
Activation becomes counterproductive when it is treated as a second glute workout. The glutes respond to total training stress, and that total includes heavy compounds, isolation work, unilateral movements, and accessory exercises. Adding several sets of banded bridges before every session can quietly increase fatigue without creating a meaningful training benefit.
According to RP Strength programming recommendations, a broad weekly volume landmark for glute training can fall around 8 to 24 working sets, distributed across roughly 2 to 5 sessions. That is a programming range, not a prescription for everyone. The right amount depends on training age, exercise selection, intensity, recovery, sleep, and how close the sets are taken to failure.
Activation sets should be considered part of the session’s workload, even when their contribution to hypertrophy is smaller than that of challenging working sets. If you perform two light sets of bridges and two sets of lateral walks before each of four lower-body sessions, that is not physiologically meaningless. It may be manageable, but it should still be weighed against the rest of the week.
A sensible structure might look like this:
- On a heavy squat or deadlift day, use one extension drill and one brief movement-specific rehearsal.
- On a single-leg or running-focused day, use one abduction drill and one controlled single-leg pattern.
- On a glute-focused hypertrophy day, keep activation short so it does not reduce performance on hip thrusts, split squats, or Romanian deadlifts.
- On a lighter recovery session, use activation as movement practice rather than adding more resistance.
The main exercises should still provide the progression. That may mean adding load, repetitions, range of motion, or improved control over time, depending on the movement and the program. A mini-band can help you learn to keep the knees aligned, but it is not a replacement for making your squat, hip thrust, or split squat progressively more demanding.
Activation versus warm-up sets
These terms are often mixed together, but they serve different purposes.
Activation drills are usually low-load exercises chosen to improve awareness and control around a specific movement. They may include bridges, clamshells, lateral walks, or side-lying abduction.
Warm-up sets rehearse the actual lift while gradually preparing you for the load. For a squat session, that might mean bodyweight squats followed by progressively heavier barbell sets. For a deadlift session, it means practising the hinge and then increasing the weight in steps.
Neither is mandatory in exactly the same form before every workout. Some lifters move well with a few general warm-up sets. Others benefit from a short activation sequence when they have been sitting, feel stiff, or are preparing for a technically demanding single-leg movement. Use the smallest intervention that improves the session.
When more activation is not the answer
If knee valgus remains pronounced despite reducing the load and improving setup, look beyond the glutes. Foot stability, ankle range of motion, hip mobility, balance, trunk control, and exercise technique may all matter. If your lower back repeatedly becomes painful, increasing the number of bridges is unlikely to solve the entire problem.
Pain is also different from ordinary effort or muscle fatigue. Sharp pain, radiating symptoms, numbness, unexplained weakness, or symptoms that persist outside training deserve professional assessment. The goal of a glute activation guide is to improve preparation, not to encourage you to self-treat a condition that has not been evaluated.
The Practical Takeaway
A pre-workout glute activation routine is worthwhile when it has a clear purpose. Use it to rehearse hip extension, organise single-leg control, check your alignment, and make the first loaded sets feel more deliberate. Keep the resistance light, the range controlled, and the total dose short enough that it does not compete with the workout.
For many sessions, three or four drills are plenty:
- one movement for hip extension;
- one movement for abduction or lateral control;
- one drill that resembles the main training pattern;
- then progressive warm-up sets for the actual lift.
There is no requirement to use the same sequence every time, and there is no reliable universal deadline for movement compensations to disappear. Some people notice a better connection in the first session; others need repeated practice, a change in exercise selection, or a broader adjustment to their training. Progress should be judged by control, comfort, and performance—not by how intensely the band burns.
Your glutes are not waiting to be switched on by a secret five-minute ritual. They are part of a moving system that has to coordinate force under changing demands. Give that system a useful rehearsal, then let the challenging work do what activation never can: build strength and muscle over time.