Home gym flooring: essential checks before installing weights
Here's something the home gym industry doesn't want you to think about: that rubber tile listing on Amazon with the "heavy-duty" label and the smiling powerlifter doing a clean and jerk in a garage? It's a marketing photo, not an engineering certificate.
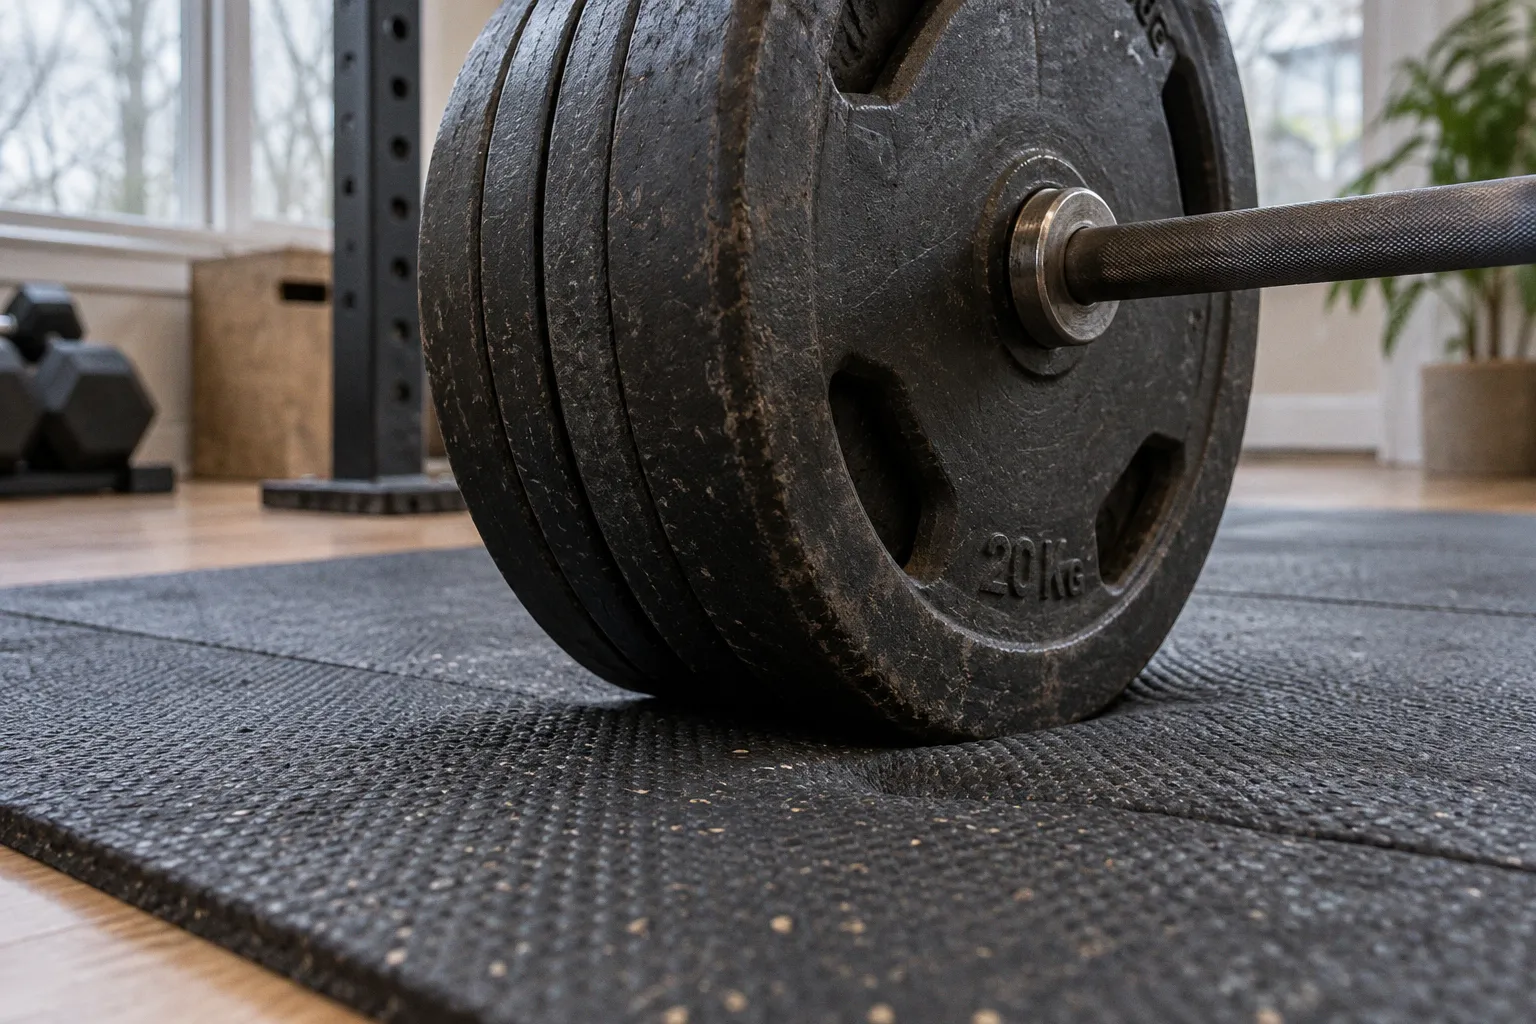
And when a 150 kg loaded barbell drops from hip height and punches through your subfloor, plaster dust, or your downstairs neighbor's ceiling — you will not be sending a strongly worded email to a drop-shipper.
I've tested home gym flooring setups in basements, converted bedrooms, and one memorable garage that was actively sinking on one corner. I've seen rubber tiles compress into sad little pancakes under squat racks. I've watched a guy's Olympic platform slowly migrate across the garage floor every time he jerked heavy. Most of this damage was completely avoidable with a few numbers, a tape measure, and the willingness to actually think before buying.
This guide isn't a product roundup. It's the checklist I wish someone had handed me before I laid my first rubber mat fifteen years ago.
What Your Subfloor Can Actually Take
Let's talk load capacity, because this is the part everyone skips.
A typical residential wood subfloor — tongue-and-gove OSB or plywood over joists — is engineered to handle distributed loads of roughly 150 to 200 kg per square meter. That rating exists for furniture, foot traffic, and the occasional waterbed (yes, I'm dating myself). It does not exist for a person standing in one spot with 200 kg across their shoulders, bouncing back up out of a squat.
Concrete is a different animal. A poured slab, even a thin one over gravel, handles static point loads like a rented mule. It's the dynamic stuff — the repeated shock of a deadlift bar returning to the floor — where concrete gets interesting, especially in basements where moisture wicks up from below.
Your subfloor wasn't designed for your max deadlift. It was designed for your couch.
The first honest question isn't "what rubber should I buy?" — it's "what's underneath me, and what's the joist span?" If you're on the upper floor of a wood-framed house and you don't know the answer to that, get someone who does to look at it before you load a power rack into the spare bedroom.
The Physics of Dropped Weights
Here's the math nobody puts in the product description.
A 150 kg loaded barbell — bar plus plates, doesn't matter the exact configuration — dropped from approximately one meter (hip height for most people, which is the realistic "oops" moment after a failed rep) generates an instantaneous impact force somewhere between 2,000 and 2,500 kg. That's 13 to 17 times the static weight of the load itself. And it lasts for a fraction of a second, which is precisely why the duration matters: your subfloor absorbs that pulse in milliseconds, not over hours like a distributed load.
This is why carpet alone is a terrible answer to the question "how do I protect my floor?" Carpet compresses and rebounds. It doesn't disperse energy laterally in any meaningful way. Your nice foam-backed living room rug under a deadlift platform is basically a trampoline for your downstairs neighbor.
A 150 kg barbell dropped from hip height hits the floor with the force of a small car landing on a postage stamp.
The thicker your rubber and the more rigid the surface beneath it, the more that energy has somewhere to go besides straight down through your joists. Which is why stacked layers work and floating ones don't.
Picking Rubber Thickness by What You Actually Do
Not all training is created equal, and neither is all rubber. Here's the breakdown I use when someone asks me what they need.
| Training Type | Recommended Rubber Thickness | Notes |
|---|---|---|
| Cardio zones, light dumbbells, yoga, mobility | 8–9 mm (3/8") | Fine for zones where nothing heavier than 20 kg touches the ground vertically |
| General barbell strength, bench, squat, accessory work | 12–15 mm (1/2") | The standard home gym default. Works for most people on concrete |
| Heavy deadlifts, home powerlifting, frequent drops | 18–20 mm (3/4") | Minimum for repeated heavy barbell impact from height |
| Olympic weightlifting (clean & jerk, snatch drops) | 30 mm+ or dedicated platform | The only honest answer if you're dropping from overhead regularly |
A few ground rules:
- 8 mm tiles will not save your wood subfloor from repeated overhead barbell drops. They're fine for a home dumbbell zone. They're not armor.
- Stall mats from the farm supply store (typically 17–18 mm, 4'x6', recycled rubber) are the value play in most home setups. Heavier, denser, and cheaper per square foot than most interlocking tiles. They've been absorbing horse impact for decades; your 180 kg deadlift is a Tuesday for them.
- Interlocking tiles (the puzzle-piece ones) are easier to install, easier to replace, and easier to transport. They're not necessarily as dense as a comparable stall mat, but for a residential setup on concrete, the difference is marginal.
- Foam tiles are not gym flooring. I don't care what the listing says. If a tile compresses visibly under a kettlebell, it is not going to absorb a deadlift.
The thickness you need is set by the worst thing you do in your gym, not the average thing. If 99% of your training is controlled eccentrics and one day a month you test a max deadlift and drop it from lockout — size your floor for that one day.
Point Loads: The Problem Nobody Mentions
Here's the scenario that eats home gym floors quietly: a 200 kg power rack sitting on four small metal feet, in the same spot, for years.
A loaded rack can exert 100 to 200 kg per square centimeter at each contact point. That's a ridiculous amount of pressure concentrated on a tiny patch of rubber. Over months, even 18 mm mats will start to compress permanently under those feet. You'll see it as shallow divots where the rack sits. Over years, it can mean the rack slowly becomes unstable, rocking on its own compressed footprint.
Three fixes, in order of how much I like them:
1. Steel plates or plywood "feet pads" under each rack contact point. Cheap, distributes the load, takes ten minutes to install. This is what I do. This is what every commercial gym does.
2. A solid plywood sub-base across the entire rack footprint before the rubber goes down. Belt-and-suspenders approach. Good if you're really paranoid about the subfloor below.
3. Thicker rubber alone helps, but it's the least efficient answer. Doubling rubber thickness doesn't double the point load protection the way a rigid disperser does.
A power rack on small feet will slowly sink into any rubber you leave underneath it. Steel plates fix this for the cost of a coffee.
If you're running a half rack with safeties bolted to the wall, the point load problem is mostly gone — the structure transfers force through the studs, not the floor. But if it's a freestanding full cage, this is the single most common long-term failure mode I see in home setups.
Moisture, Concrete, and the Garage Gym Problem
Garage and basement slabs come with a free bonus feature nobody asked for: groundwater wicking up through the concrete.
Untreated concrete in contact with damp soil transmits moisture vapor continuously. Lay rubber mats directly over that slab and you create a sealed environment between the rubber and the concrete. The rubber traps moisture against the slab. Over months, you get:
- Rubber that never quite dries, especially in the corners
- Potential mold growth in the trapped layer
- Adhesive failure if you've glued tiles down
- A smell you'll eventually notice and never un-notice
Concrete that sweats — and you can test this by taping a square of plastic to the floor for 48 hours and seeing if moisture collects under it — needs to be sealed before rubber goes down. A concrete sealer or a proper vapor barrier roll is cheap insurance.
Some more specifics worth knowing:
- Seal the slab first, then lay rubber. Not the other way around. There's no reason to seal over rubber.
- Leave a small gap at the edges (a centimeter or so) to let the slab breathe slightly and to give the rubber room to expand with temperature changes.
- Don't glue rubber to a slab you haven't tested for moisture. Removable installation is your friend until you know.
- If the slab has visible cracks, get them assessed. Hairline shrinkage cracks are usually fine. Structural cracks that go through the slab and show offset on either side are not a "floor it with rubber" situation.
The Pre-Install Checklist (What I Actually Do)
Before I lay a single tile in someone's garage, I run through this. Every time. It's not glamorous, which is why people skip it.
1. Identify the subfloor type. Wood frame on joists, or concrete slab? If you don't know, look at the floor edges, the basement ceiling below, or any access panels. Guessing is the most expensive form of saving time.
2. Check the moisture. Slab floors get the plastic-tape test for 48 hours. If there's condensation under the plastic, seal the concrete before any rubber goes down. Wood subfloors on upper floors: check for any history of leaks, water stains, or soft spots before adding 200 kg of dead weight.
3. Measure the actual load zones. Where will the rack go? Where will you drop the bar? These areas get thicker rubber than the rest. There's no rule that says the whole floor needs to be 3/4" — but the 2x2 meter patch under your deadlift station absolutely does.
4. Plan for point loads. Steel plate under each rack foot. Plywood under any bench with a heavy footprint. These are ten-dollar decisions that prevent thousand-dollar problems.
5. Sort the thickness by activity zone. Cardio corner gets 8 mm. Squat rack gets 12–15 mm. Deadlift platform gets 18–30 mm or a proper wood-and-rubber platform build.
6. Check door clearance and transitions. Rubber adds height. A 3/4" mat plus a 3/4" platform puts you 40+ mm above the surrounding floor. Sloped transition strips at doorways prevent trips and keep things looking deliberate rather than improvised.
7. Plan ventilation. Rubber off-gasses, especially new rubber. The smell fades over weeks, not days. Running a fan or opening the garage door during install and for the first week makes a noticeable difference.
Seven checks. None of them take more than ten minutes. All of them prevent problems that cost real money.
Verdict
Home gym flooring is not a product decision. It's a structural decision that gets dressed up in product packaging. The rubber you pick matters less than the subfloor you put it on, the moisture you manage, and the point loads you distribute. Get those three right and almost any reasonable rubber setup will outlast your training career.
Skip them and no thickness of rubber is going to save you from yourself.