Macro tracking setup: what to prepare before day one
Most people approach macro tracking as if the difficult part begins when they open the app and enter breakfast.
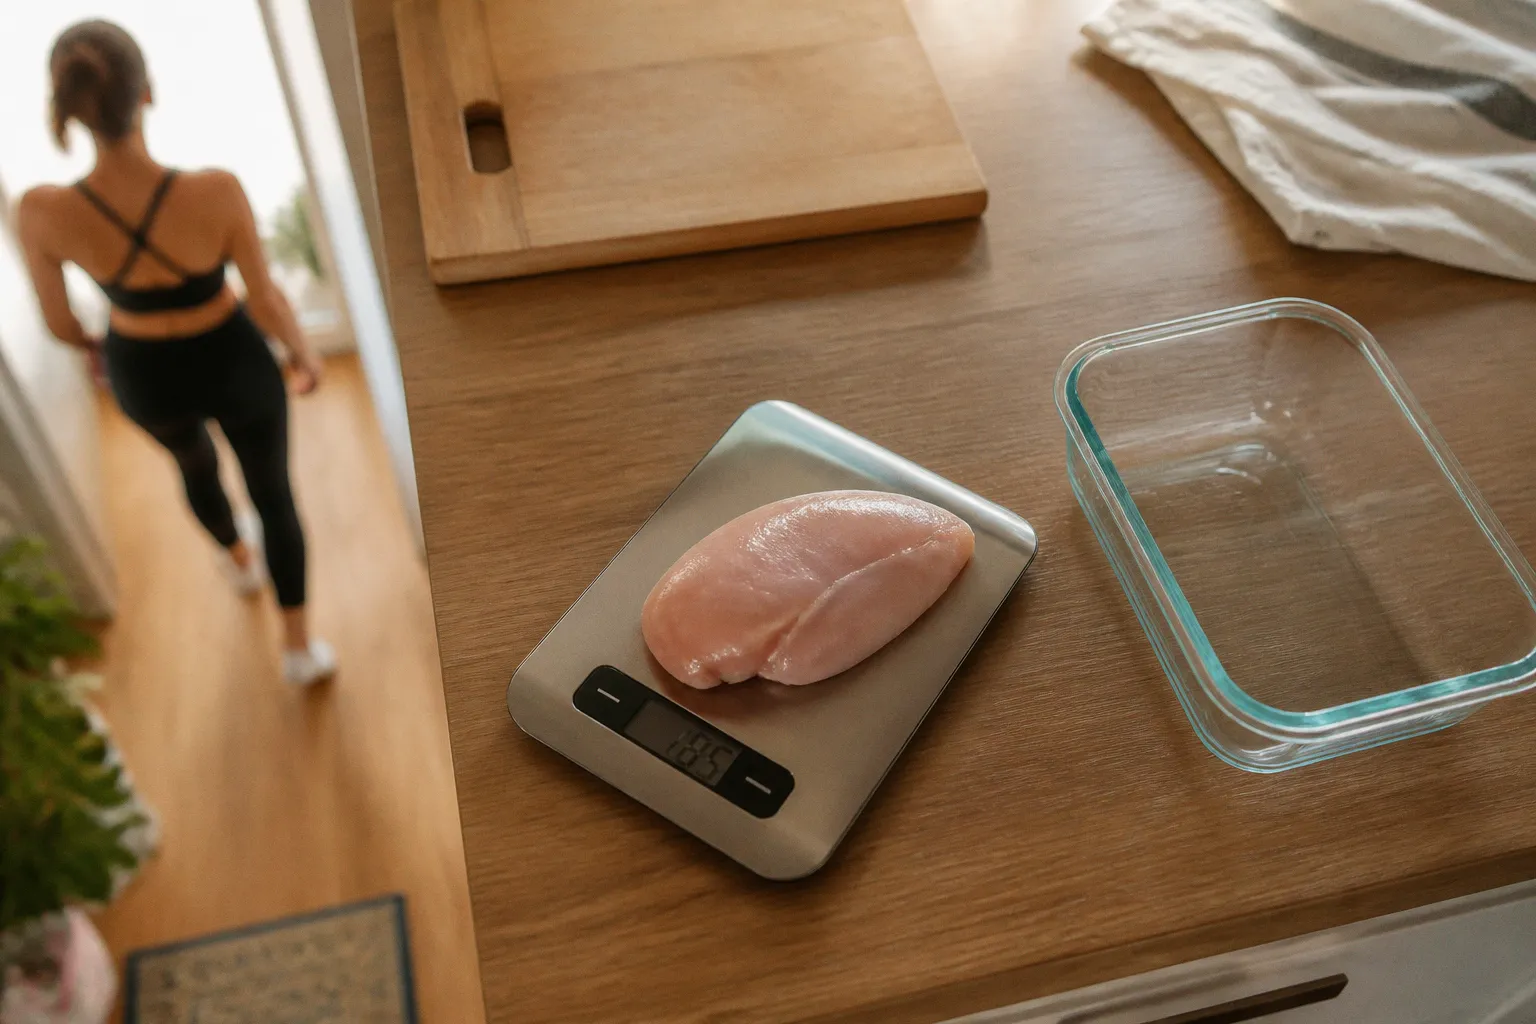
In practice, the friction usually starts earlier: there is no reliable kitchen scale, the calorie target is a guess, the chosen food database is full of inconsistent entries, and nobody has decided whether rice is being weighed dry or cooked.
That is not a character flaw. It is a setup problem.
Macro tracking is a logistics system. Before day one, you need a sensible starting target, a repeatable way to measure food, an app you can use without fighting it, and a few default meals that do not require a fresh decision every time you get hungry. The more of that work you do in advance, the less attention tracking demands once real life gets involved.
This macro tracking setup checklist is not about building a perfect diet. It is about removing the avoidable sources of confusion before you start.
Calculating Your Baseline: Protein and Caloric Targets
Before you open a single app or weigh a single chicken breast, establish two working numbers: a daily calorie target and a protein target. Carbohydrates and fats still matter, but these two anchors give the rest of the plan some structure.
Without them, tracking becomes a record of what happened rather than a way to make an intentional change. You can log every ingredient accurately and still have no idea whether the total supports fat loss, maintenance, training performance, or muscle gain.
Start with a working calorie target
Your daily energy needs depend on body size, activity, training frequency, job, sleep, and the amount of movement that happens outside the gym. Any calculator or formula can only provide a starting estimate. It cannot know whether you walk during work breaks, spend most of the day seated, train intensely three times a week, or compensate for training by moving less afterward.
That is why the first number should be treated as a hypothesis rather than a verdict.
A practical approach is to begin with an estimated maintenance intake, then adjust according to the trend in your body weight, measurements, gym performance, hunger, and recovery. If your goal is fat loss, the starting intake will generally be below estimated maintenance. If your goal is to maintain weight or support performance, the target may sit closer to the amount that appears to maintain your current trend.
Do not react to one weigh-in. Body weight moves with hydration, sodium, food volume, menstrual-cycle changes, stress, and the timing of your last meal. The useful signal is the pattern over time. Your initial target becomes more useful when it is compared with consistent observations rather than judged after a single morning.
Write down:
- your current goal: fat loss, maintenance, performance, or gradual gain;
- the calorie target you are going to test;
- the period over which you will review the trend;
- the signs that would justify an adjustment, such as stalled progress, unusually poor recovery, or persistent hunger.
This prevents the common mistake of changing the target every few days because the process feels slow. A tracking system needs enough consistency to produce information.
Set protein before filling in the rest
Protein is usually the simplest macro to establish because it has a clear role in supporting muscle retention, recovery, and satiety. For general body-composition goals, a useful working range is around 0.7 to 1.0 grams per pound of body weight, or approximately 1.6 to 2.2 grams per kilogram.
That is a range, not a command to hit the highest number available. Someone dieting aggressively or carrying relatively little body fat may prefer the upper end. Someone maintaining weight with lower training demands may find the lower end entirely workable. If you have a medical condition that affects protein intake or kidney function, this is a conversation for a qualified healthcare professional rather than an app.
Once protein is set, distribute the remaining calories between carbohydrates and fats according to preference, training demands, digestion, and the foods you can eat consistently. A runner may feel better with more carbohydrate around training. Someone who prefers richer meals may allocate more calories to fats. There is no prize for choosing the ratio that looks most disciplined on paper if it makes ordinary meals difficult to live with.
If you do not know your calorie and protein targets before day one, you are not yet using macro tracking as a plan. You are simply keeping a detailed food diary.
The calorie values of the three main macronutrients are also worth knowing:
- protein provides 4 calories per gram;
- carbohydrates provide 4 calories per gram;
- fat provides 9 calories per gram.
Alcohol is commonly estimated at 7 calories per gram, although alcoholic drinks also contain calories from mixers, sugar, and carbohydrates. These values are not a substitute for the package label, but they are useful for spotting obvious inconsistencies. If an entry says a food contains a substantial amount of fat but the listed calories barely move, the database entry deserves another look.
Check the target against real meals
Before committing to the number, sketch out a normal day of food. Include breakfast, lunch, dinner, snacks, cooking fats, drinks, and the small additions that are easy to ignore.
Can you reach the protein target without turning every meal into plain chicken and yogurt? Is there enough food volume to make the calorie target tolerable? Do you have room for the foods you actually enjoy? If the answer is no, the problem may be the starting setup rather than your willpower.
The best calorie target is not the most aggressive one. It is the one that produces a useful direction while leaving enough room for training, work, social meals, and a diet that does not feel like a temporary punishment.
The Digital Scale Advantage: Eliminating Estimation Errors
The kitchen scale is the least glamorous part of a macro tracking setup, which is exactly why people postpone buying one. They assume they can estimate portions with a measuring cup, a tablespoon, or visual judgment. Those methods can be useful in certain situations, but they are poor foundations for foods whose calories are concentrated in a small volume.
Oil, butter, nut butter, cheese, nuts, granola, dried fruit, and avocado are all easy to underestimate. A spoon that looks generous or modest is still a vague measuring instrument. The same applies to cereal poured directly into a bowl or rice served with a large kitchen spoon.
A digital scale turns the question from “does this look like enough?” into “how many grams did I actually use?” That is a much easier question to answer consistently.
Look for a scale with:
- a tare function, so the bowl can be reset to zero;
- a gram setting;
- a surface large enough for your usual plate or mixing bowl;
- a display that remains visible when a container is on top;
- a capacity suitable for meal-prep containers and larger batches;
- a surface that is easy to wipe clean.
The brand is less important than the habit. Keep the scale somewhere accessible. If it is buried in a cupboard behind three appliances, it will become an occasional tool instead of part of the cooking process.
When each measuring method makes sense
Not every ingredient needs to be weighed with the same level of attention. The point is not to make food preparation ceremonial. It is to use the method that gives you enough consistency for the food in question.
| Measurement method | Where it works best | Where it becomes unreliable |
|---|---|---|
| Digital scale in grams | Meat, fish, grains, oils, spreads, cheese, mixed ingredients, meal prep | Foods that are awkward to weigh individually when you are eating away from home |
| Measuring cups and spoons | Liquids, recipes written by volume, quick household portions | Dense foods such as nut butter, cereal, grated cheese, and cooking oils |
| Hand portions and visual estimates | Restaurants, travel, social meals, days when exact logging is not practical | Building a precise daily target or comparing small changes over time |
You do not have to choose between perfect measurement and total guesswork. A scale can be the default at home while hand portions provide a reasonable fallback elsewhere. One restaurant meal that is estimated will not erase the value of a consistent system. The bigger problem is using estimates for every meal and then expecting the totals to behave as if the portions were measured.
Tare as you build the meal
Taring is particularly useful when making a sandwich, assembling a salad, or cooking a bowl directly in one container.
Put the bowl on the scale and press tare. Add the first ingredient, record the weight, press tare again, and continue. For a spread or sauce, place the container on the scale, tare it, and remove the amount you plan to use. The display will show a negative number; that number represents the quantity removed.
This approach reduces dishes and makes small additions visible. It also helps with foods that are easy to dismiss as insignificant. A drizzle of oil, a spoonful of dressing, or an extra handful of nuts can become meaningful when repeated every day.
The scale is not there to make you suspicious of food. It is there to make your information better.
Selecting Your Tracking Ecosystem: App Features and Usability
The app is not the diet. It is the interface between your food and the decisions you are trying to make. A technically powerful app that takes too long to use may be less helpful than a simpler one that you open consistently.
When comparing macro tracking tools to get started, pay attention to the parts of the experience you will repeat most often:
- how quickly you can find a food;
- whether barcode scanning works for the products you buy;
- whether serving sizes can be changed to grams;
- how easy it is to correct an entry;
- whether recipes and meals can be saved;
- how clearly the app separates calories, protein, carbohydrates, and fat;
- whether it supports the units you use;
- whether the free version is functional enough for your needs.
Examples commonly used for this purpose include MacrosFirst, MyFitnessPal, Cronometer, and MacroFactor. Their features and pricing can change, so treat the comparison as a way to understand different approaches rather than as a permanent ranking.
| App style | What it may suit | What to look out for |
|---|---|---|
| Macro-first tracker | Someone who mainly wants quick calorie and macro logging | A smaller or less consistent food database |
| Large general food database | Someone who scans packaged foods or eats a wide variety of brands | Duplicate entries and user-submitted inaccuracies |
| Nutrition-detail tracker | Someone interested in fiber, sodium, and micronutrients as well as macros | More information can make simple logging feel slower |
| Coaching or adaptive tracker | Someone who wants guidance with target adjustments | A subscription model and a steeper learning curve |
The food database deserves special attention. A large database is not automatically an accurate one. User-entered items may contain incorrect serving sizes, missing ingredients, or nutrition information copied from a different product. When possible, compare the app entry with the package label. If the barcode result looks suspicious, create a custom entry or select a verified listing.
Make logging fast before you make it ambitious
Save the meals you repeat. Create a recipe for your usual chili, overnight oats, smoothie, or lunch bowl. Store frequently used ingredients as favorites. If the app allows it, build a meal from components instead of searching for every ingredient from scratch.
This is where the system starts to feel different from a food diary. You are not documenting every meal as if it were a research project. You are creating a small personal library of meals that can be logged in seconds.
Pick one app and stay with it long enough to learn its shortcuts. Moving between platforms can be useful if the first one genuinely does not fit, but switching repeatedly creates new friction and makes your historical data harder to interpret. The goal is not to find the app with the most features. It is to find the one that makes accurate logging feel ordinary.
Standardizing Data: Why Raw and Dry Weights Matter
One of the most important macro counting checklist decisions is also one of the easiest to overlook: deciding whether an ingredient is being recorded before or after cooking.
Cooking changes the amount of water in food. Meat can lose moisture as it cooks. Rice, pasta, oats, and other grains absorb water and become heavier. The calories in the ingredient have not magically changed in the same proportion, but the weight has. That means 100 grams of cooked rice is not interchangeable with 100 grams of dry rice, and a database entry for raw chicken should not be used for a cooked portion without accounting for the difference.
There is no universal rule that says every food must be weighed raw. The rule is that the weight and the database entry must describe the same state.
If you choose raw and dry weights:
- weigh meat or fish before cooking;
- weigh rice, pasta, oats, and other dry goods before adding water;
- select a raw or dry entry in the app;
- record the total amount used in a recipe.
If you choose cooked weights:
- use a database entry specifically marked cooked;
- avoid mixing cooked weights with raw entries;
- remember that the water content can vary with cooking method and time.
Raw and dry weights are often easier to standardize for meal preparation because the package label usually describes the product before cooking. Cooked weights can also work well, particularly when a household shares a finished dish, but they require more care.
Raw and dry is not a magic accuracy setting. It is simply a clear language for your food log. The important part is using the same language every time.
Batch cooking requires one extra calculation
Suppose you cook a large batch of rice, chicken, vegetables, and sauce together. Weighing one finished serving does not tell you how much of each ingredient it contains unless the recipe has already been divided in a controlled way.
A more reliable process is:
1. Weigh and log every ingredient before cooking.
2. Enter the full recipe in the app.
3. Weigh the finished batch if the total weight changes substantially during cooking.
4. Divide the batch by weight or by a consistent number of servings.
5. Save the recipe so the same meal can be logged again.
For a mixed dish, dividing by weight is often more precise than trying to scoop identical portions. If the finished batch weighs 1,200 grams and you serve 300 grams, that portion represents one quarter of the recipe. The exact arithmetic is less important than using the same method for the whole batch.
Package labels, recipes, and database entries
Use the package label when the food is packaged and the label is available. Pay attention to whether the stated serving size is dry, prepared, drained, or as sold. Canned beans may list nutrition for drained weight. Frozen vegetables may be described as sold. Protein products can differ significantly between brands even when the front of the package looks similar.
For homemade recipes, log the ingredients rather than choosing a generic “homemade” entry when the ingredients are known. For restaurant meals, estimates are unavoidable. In that situation, choose the closest reasonable entry, note what you assumed, and return to your normal method at the next meal instead of trying to compensate dramatically.
Consistency is more valuable than false precision. Your goal is to make the same type of information comparable from day to day.
Reducing Decision Fatigue Through Proactive Logging
The final part of the macro diet setup essentials has less to do with nutrition and more to do with timing.
Log meals before you are hungry whenever possible. You might enter breakfast and lunch the night before, or map out the entire next day while preparing dinner. You do not need to lock yourself into a rigid menu. You need to know what the day can look like before hunger, fatigue, or an unexpected schedule change starts making the decisions for you.
Pre-logging helps in three ways.
First, it reveals problems early. If breakfast is low in protein and lunch is already calorie-heavy, you can adjust while there is still plenty of day left. Second, it distributes food more comfortably. You are less likely to discover at night that you have a large amount of protein remaining and no appetite for it. Third, it reduces the number of small choices required when you are already tired.
A useful starting point is to pre-log the meals that are most predictable: breakfast, a packed lunch, a post-workout snack, or a repeatable dinner. Leave some flexibility for social meals and changes in appetite. The purpose is not to turn the day into a contract. It is to create a default route.
Build meals around repeatable components
You do not need to eat the same menu forever. You do need a few meals that are easy to measure and easy to repeat.
A workable meal template might include:
- a clear protein source;
- a carbohydrate source matched to your preferences and training;
- vegetables or fruit for volume and variety;
- a measured source of fat;
- a sauce, dressing, or seasoning that has been included rather than ignored.
For example, a lunch of chicken, rice, vegetables, and dressing is simple to log when each component has been weighed and saved. The same structure can be changed without rebuilding the entire system: swap chicken for tofu or fish, rice for potatoes or bread, and the vegetables according to what is available.
This is more sustainable than creating a new recipe every day. Repetition is not a failure of imagination; it is a useful way to reduce the number of variables while you learn how your targets fit your life.
Leave room for the unexpected
A setup that allows no flexibility will break the first time a meeting runs late or a friend suggests dinner. Reserve some calories for foods you have not planned precisely, or keep a few easy options available: yogurt, fruit, a protein shake, eggs, frozen vegetables, canned fish, or a meal that can be assembled quickly.
You can also use a “planned flexibility” meal. Log a reasonable estimate in advance, then update it when you know what you actually ate. This is not as exact as weighing food at home, but it is more useful than abandoning the entire day because one meal was difficult to measure.
The same principle applies to restaurants. Look for a comparable dish, estimate conservatively where needed, and avoid treating an imperfect entry as permission to stop tracking. The value of the system comes from the overall pattern, not from pretending every setting offers laboratory conditions.
Put the first few days in place
Before day one, confirm that the basic pieces are ready:
- your body weight has been recorded under conditions you can repeat;
- your calorie and protein targets are written down;
- the scale has batteries and a working tare function;
- the app is installed and the targets are entered;
- your regular foods have been checked against package labels;
- at least a few meals are saved or logged in advance;
- you know how you will record raw, dry, and cooked ingredients;
- you have a plan for meals away from home.
Do this before the first busy morning, not while you are already late for work and trying to decide how much oatmeal went into the bowl.
The final item is not a guarantee of long-term adherence. It is simply a practical way to lower the amount of decision-making required at the beginning. A person who has a usable meal waiting in the log has one less obstacle than a person opening a blank app while hungry.
Make the Setup Carry Its Own Weight
The setup does not determine everything, but it determines how much unnecessary effort the system demands from you. A reasonable target with poor measurements produces confusing feedback. An accurate scale paired with an inconvenient app creates friction. A well-designed plan with no flexible meals becomes fragile as soon as your schedule changes.
The pieces have to support one another.
Start with targets that are plausible for your goal. Measure the foods that are most likely to create meaningful errors. Use package labels and consistent raw or cooked entries. Choose an app that makes your normal meals quick to record. Save recipes instead of rebuilding them. Pre-log enough of the day to prevent hunger from becoming the meal planner.
The point of preparation is not to make macro tracking more serious. It is to make it less dramatic.
You should not need perfect discipline to maintain a useful log. You need a system that still works on an ordinary Tuesday: when breakfast is rushed, when lunch is packed in a container, when dinner is assembled from leftovers, and when one meal is estimated rather than weighed.
That is the real purpose of a macro tracking setup checklist. It gives you a clear starting point and a consistent way to learn from the results. Once the scale, app, targets, and meal defaults are in place, the daily work becomes deliberately unremarkable. You measure what matters, record it in the same format, review the trend, and make one sensible adjustment when the evidence calls for it.
Everything else is noise.