Meal prep containers: choosing the right storage for your macros
The wrong meal prep container can quietly undermine an otherwise well-organized nutrition plan.
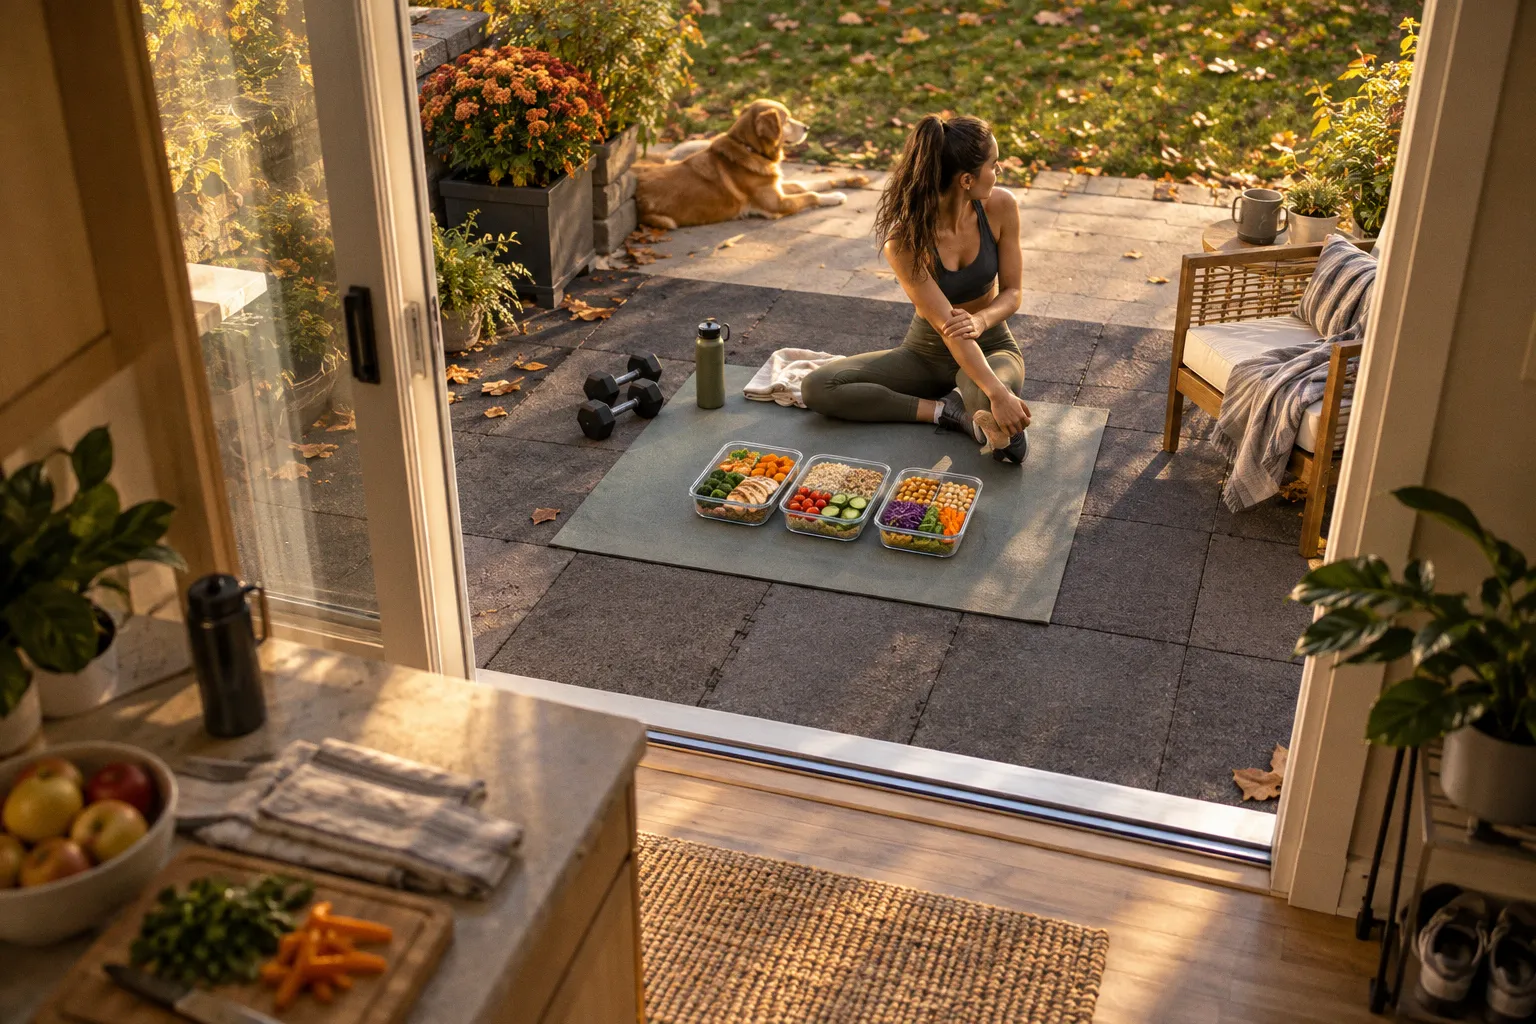
A lid that leaks into your gym bag, a bowl that is too small for a balanced dinner, or a divided tray with no useful volume markings can turn portion control into guesswork. Over time, that friction makes it harder to prepare meals consistently—and consistency is where nutrition starts working for us.
The best meal prep containers for fitness tracking are not necessarily the most expensive or the most attractive. They are the ones that match the way you eat, travel, reheat, and measure food. We need enough space for protein, carbohydrates, and vegetables, a seal we can trust, and a material that suits the realities of our kitchen and training schedule.
The best container is not the one with the most compartments. It is the one that makes your intended portion easy to repeat.
Start with the material: glass, plastic, or stainless steel?
When we compare glass vs. plastic meal prep containers, the real question is not which material is universally best. It is which trade-offs we are willing to live with every day.
Meal prep containers are usually made from borosilicate glass, BPA-free plastic, silicone, or stainless steel. Each option can work well, but they behave differently when we reheat food, carry it around, stack it in the refrigerator, or clean it after several days of use.
Borosilicate glass: stable, clean, and heavier
Glass is often the most reassuring choice for people who prepare meals several times a week and reheat directly from the container. Pyrex-style borosilicate glass does not retain food odors or stains easily, which is particularly useful after tomato sauces, curries, roasted vegetables, or strongly seasoned chicken dishes.
It also avoids the concern of chemical leaching associated with heating some plastics. That does not mean every glass container is indestructible. Glass is heavier, and it can break if dropped or exposed to thermal shock. Moving a container directly from a very cold environment into intense heat is not a habit we want to build.
Glass works especially well when:
- We prepare food at home and reheat it at work or after training.
- We want containers that resist staining and lingering smells.
- We prefer to see the food clearly and use one container for storage, reheating, and serving.
- Our meals are substantial enough that a little extra weight is not a problem.
- The containers will mostly travel in a car, backpack with structure, or office bag rather than a crowded gym bag.
A glass container can be a strong long-term choice for dinner portions and batch-cooked meals. It is less convenient for a small snack that we carry alongside shoes, lifting straps, a water bottle, and everything else that ends up in a training bag.
BPA-free plastic: light and practical
Plastic is usually the easiest option for portability. It weighs less, is less likely to shatter, and often comes in slim shapes that fit neatly into meal prep bags. For anyone carrying multiple meals through a workday, that convenience matters.
The phrase BPA-free is useful, but it should not be treated as a guarantee that a plastic container is suitable for every kind of heating or every temperature. We still need to follow the manufacturer’s instructions. Avoid using plastic in ways it was not designed for, particularly with high heat or prolonged microwave exposure.
Plastic is a practical fit when:
- We carry meals on public transport or walk with them for part of the day.
- We need several containers without adding much weight.
- We freeze individual servings and want a lower-breakage option.
- We are packing snacks, salads, sandwiches, oats, or cold post-workout meals.
- We need affordable, replaceable containers for a busy meal prep routine.
Plastic also tends to be more forgiving when containers are packed tightly. That can be valuable, but it does not make every plastic container leakproof. A lightweight box with a loose lid is still a poor choice for soup, dressing, overnight oats, or anything else that can spread across a bag.
Stainless steel: durable, but not a microwave solution
Stainless steel containers are durable and lightweight compared with glass. They can be helpful for cold meals, dry snacks, fruit, sandwiches, and foods we plan to transfer to a plate before heating.
The limitation is straightforward: standard stainless steel containers should not go into a microwave. If reheating is part of our daily routine, this adds an extra step. We may need to move the food into a microwave-safe dish, which reduces the convenience of an all-in-one meal prep system.
Stainless steel makes sense when portability and impact resistance matter more than direct reheating. It is particularly useful for people who eat cold lunches, use an insulated food carrier, or already have access to dishes at work.
A practical material comparison
| Feature | Borosilicate glass | BPA-free plastic | Stainless steel |
|---|---|---|---|
| Reheating | Often suitable when labeled microwave-safe | Only when specifically labeled for microwave use | Not suitable for standard microwaves |
| Weight | Heavier | Lightest option | Light to moderate |
| Breakage risk | Can break or chip | Does not shatter easily | Highly resistant to drops |
| Odor and staining | Usually resists both well | May retain smells or stains over time | Generally resists odors |
| Portability | Best for structured bags and shorter carries | Best for gym bags and commuting | Strong option for cold meals |
| Freezer use | Check manufacturer guidance | Often convenient, with room left for expansion | Product-specific |
| Best role | Reheated lunches and dinners | Flexible everyday meal prep | Cold meals and durable travel storage |
There is no need to choose one material for every meal. A balanced setup often includes glass for reheated main meals, lightweight plastic for snacks and portable lunches, and perhaps stainless steel for foods that do not need heating.
Portion control works better when the container reflects the meal
Portion control containers for macro tracking are helpful because they reduce the number of decisions we make at mealtime. They give the meal a physical boundary. Instead of asking whether the portion of rice is “about right,” we can prepare a repeatable serving in a container that suits the volume.
That said, volume is not the same as weight. A container marked in milliliters can help us portion foods consistently, but it cannot convert every ingredient into exact grams. Cooked rice, oats, chicken, roasted potatoes, and leafy vegetables all have different densities. If we are tracking macros with competitive-level precision, a digital food scale may still be necessary.
For everyday fitness nutrition, however, repeatability often matters more than microscopic accuracy. A container that consistently holds the amount we intend to eat can support a sustainable plan without turning every meal into a laboratory exercise.
Compartments: useful when they match the food
Divided containers are designed to separate ingredients such as:
- Protein, including chicken, fish, tofu, eggs, Greek yogurt, or beans.
- Carbohydrates, such as rice, pasta, potatoes, oats, or grains.
- Vegetables, salad, or fruit.
- Sauces, dressings, nuts, and other smaller additions.
The best layout depends on the meals we actually prepare. A three-compartment box sounds versatile, but it may not work well if the largest section is too small for our protein and carbohydrate portions. Likewise, a tiny sauce compartment is of limited value if we mostly eat dry meals.
For a balanced lunch, we often want one generous main section and one or two smaller sections. This allows us to keep roasted vegetables separate from grains, or protein separate from a dressing, without forcing every meal into identical proportions.
A compartmented container is particularly helpful for:
1. Batch-cooked lunches. We can portion the same recipe across several days without reaching for multiple dishes.
2. Meals with different textures. Crisp vegetables and sauces stay more enjoyable when they are not mixed too early.
3. Macro tracking. Repeated sections make it easier to compare meals from day to day.
4. Appetite management. A visible, defined serving can feel more satisfying than eating from a large storage bowl.
5. Family meal preparation. Different people can receive different proportions of the same ingredients.
The container should support the meal, not dictate it. If we have to compress food into a compartment or leave part of the meal behind because the sections are awkward, the design is working against us.
Volume markings: helpful, not magical
Volume markings can reduce the need for measuring cups when we portion cooked foods. They are especially convenient for ingredients we use repeatedly, such as rice, quinoa, pasta, oatmeal, or chopped vegetables.
But markings do not remove every source of variation. Foods settle differently, pieces vary in size, and a loosely filled section will not represent the same quantity as a tightly packed one. For strict macro tracking, we can weigh the food during the initial setup of a recipe, record the portion, and then use the container for faster repetition later.
This creates a useful middle ground:
- Weigh ingredients when developing or recalculating a recipe.
- Divide the finished meal into repeatable servings.
- Use the same container size and layout for future batches.
- Recheck portions when the recipe changes significantly.
That approach keeps the accuracy where it matters without requiring us to weigh every cucumber slice forever.
Choosing the right size: from 300 ml snacks to 1,000 ml meals
Container capacity is one of the easiest details to overlook and one of the most frustrating to get wrong. A container that is too small leads to overflowing lids and compressed food. One that is too large can make a modest snack look unsatisfying and take up unnecessary space.
Single-serving meal prep containers commonly range from about 300 ml to 1,000 ml. The right choice depends on the meal, the food’s volume, and whether we are packing a snack or a complete meal.
Around 300 ml: compact snacks and add-ons
A 300 ml container can work well for smaller portions such as:
- Berries or cut fruit.
- Nuts and seeds.
- A small serving of yogurt.
- Hummus or another dip.
- Chia pudding or overnight oats in a modest portion.
- Chopped vegetables for a pre-prepared snack.
This size is also useful for sauces and toppings, provided the lid seals securely. It is not usually enough for a full main meal unless the meal is unusually compact and energy-dense.
Around 500 ml: light lunches and balanced sides
A 500 ml container can suit a lighter lunch, a side dish, or a meal built around dense ingredients. It may hold a moderate serving of protein with a compact carbohydrate portion, but it can feel restrictive for meals that include a lot of vegetables.
This size is often convenient for:
- Smaller lunches.
- Post-workout meals when appetite is modest.
- Salads with protein.
- Grain or potato sides.
- Snacks that are closer to a full mini-meal.
When choosing a 500 ml container, look at the dimensions rather than capacity alone. A wide, shallow box can be easier to fill and eat from than a narrow, deep one with the same volume.
Around 720–800 ml: flexible everyday main meals
Containers in the 720 ml to 800 ml range offer more breathing room for a complete meal. They can accommodate a protein source, a carbohydrate portion, vegetables, and a sauce without requiring the lid to press down on the food.
An 800 ml bowl-style container may be particularly useful for large salads, grain bowls, pasta dishes, and meals with bulky vegetables. Bowl-shaped designs are easier to mix and eat from, while flat divided trays can stack more efficiently.
This middle range is often the most versatile place to start if we want one container size for regular lunches and dinners.
Around 1,000 ml: high-volume meals and generous portions
A 1,000 ml container is a practical choice for high-volume meals, larger appetites, or recipes with substantial vegetables. It can also work for meals that need extra room to prevent sauces and toppings from being crushed.
The trade-off is portability. A large container takes up more space, and when filled with dense food it can become noticeably heavier. It may be ideal for a refrigerator-to-desk routine but less appealing for someone carrying multiple meals throughout the day.
Match the container to the use case
| Meal or situation | Useful capacity range | Design priority |
|---|---|---|
| Fruit, nuts, dip, or small yogurt serving | About 300 ml | Compact size and secure lid |
| Light lunch or side dish | About 500 ml | Easy stacking and clear portions |
| Standard lunch or dinner | About 720–800 ml | Balanced capacity and leak resistance |
| Large salad, grain bowl, or high-volume meal | Up to 1,000 ml | Width, mixing space, and sturdy seal |
| Several meals carried together | Mixed sizes | Stackability and low overall weight |
We do not need a kitchen full of identical containers. A small collection of different capacities usually supports meal planning better than a large set where every box is the same size.
Leakproof seals matter more than clever marketing
For active lifestyles, the best leakproof containers for gym bags are defined by construction rather than a label on the packaging. We want a lid that closes evenly, a gasket that sits securely, and a design that does not rely on pressure from the food inside to remain shut.
Snap-lock lids can create a strong seal when all sides are closed properly. Some designs include silicone gaskets or flexible seals that improve airtightness and help preserve freshness. These features are valuable for soups, marinades, sauces, yogurt, overnight oats, and meal-prepped salads with dressing.
A container can be airtight without being comfortable to use. If the lid is difficult to open, the seal is easy to misalign, or food collects under the gasket, the system becomes less reliable with each use.
Before making a container part of our daily routine, we can test it at home:
1. Close the lid on an empty, dry container.
2. Add a small amount of water.
3. Turn it upside down over the sink.
4. Gently move it as it might move inside a bag.
5. Inspect the corners, hinge points, and gasket for moisture.
This is not a guarantee for every type of food, but it quickly exposes loose lids and poorly seated seals. A container that fails with water should not be trusted with curry or a protein shake.
The lid is part of the meal prep system
A secure lid does more than prevent spills. It protects the texture of the meal and keeps aromas contained. This is especially important when we prepare food for several days.
Look for:
- A lid that closes on all sides rather than relying on one central latch.
- A gasket that can be removed for cleaning.
- Corners that are easy to wipe.
- A seal that does not become distorted when the container is stacked.
- Enough headspace for foods that may shift during transport.
- Separate dressing or sauce storage when the meal is intended to stay crisp.
We should also avoid filling liquid-heavy meals completely to the top. Even a good seal needs room to close cleanly, and overfilling increases the chance of pressure, splashing, and mess.
Portability: the container has to survive the route between kitchen and training
Meal prep storage for weight loss and fitness is not only about the refrigerator. It has to fit into the day we actually live: commute, work, errands, training, and perhaps several hours before the meal is eaten.
A container that works beautifully at home may be a poor choice for a packed gym bag. Glass can be stable and hygienic, but a loose container shifting beside shoes and equipment is not an ideal arrangement. Plastic is usually easier to carry, but a flimsy lid may fail under pressure. Stainless steel can handle rougher treatment but may require a separate reheating dish.
The most practical setup depends on our route:
For office lunches
A glass container with a secure snap lid can be a good choice if the meal is carried in a structured lunch bag and reheated at work. A flat shape often stacks well in a refrigerator, while a bowl shape makes it easier to mix meals such as chili, pasta, or rice bowls.
For gym bags
Lightweight plastic usually has the advantage. Choose a compact container with a dependable seal and avoid packing it directly against heavy or sharp equipment. If the meal contains liquid, place the container upright inside a separate food bag whenever possible.
For long days away from home
Several smaller containers may be easier to manage than one oversized box. We can separate breakfast, lunch, snacks, and toppings, then eat according to hunger and schedule. An insulated carrier may also be needed when food will sit unrefrigerated for an extended period; the container itself does not replace safe temperature control.
For post-workout nutrition
The best post workout nutrition container is the one that makes the planned meal easy to eat soon after training. This might be a 500 ml container with rice and chicken, a smaller box with yogurt and fruit, or a larger bowl with a high-volume meal. The container does not need to be marketed as a “fitness” product. It needs to hold the food we can reliably prepare and tolerate after exercise.
Portability is not a minor convenience. If a container is awkward to carry, it becomes a reason to skip the meal we already planned.
Cleaning and durability determine whether the system lasts
A meal prep container is only useful when we keep using it. That means cleaning cannot be an afterthought.
Containers with sharp interior corners, complicated hinges, or permanently attached seals can trap food residue. Over time, this can create odors and make the box unpleasant to use. A simple design with smooth walls is often more sustainable than a feature-heavy container that takes several minutes to disassemble after every meal.
Glass generally cleans easily and resists staining, although lids may still absorb odors depending on their material. Plastic is convenient but can show scratches, discoloration, or lingering smells sooner, especially when used for strongly seasoned foods. Stainless steel is durable and low-maintenance, but we need to check whether the lid and seals are equally robust.
A sensible rotation includes enough containers to avoid washing the same box immediately after every meal. It also helps to:
- Rinse containers soon after eating rather than leaving sauces to dry.
- Remove washable gaskets when the manufacturer allows it.
- Let containers and lids dry fully before stacking them.
- Replace lids or seals when they no longer close evenly.
- Avoid using damaged containers for foods that need a secure seal.
- Check microwave and dishwasher guidance before using either appliance.
Durability is not only about surviving a drop. It is also about maintaining a reliable seal, a clean surface, and a usable shape after repeated preparation cycles.
Microwave, freezer, and food safety details
Reheating instructions vary by product, even within the same material category. A glass base may be microwave-safe while its lid is not. A plastic container may tolerate gentle reheating but require the lid to be vented or removed. A stainless steel container should not be placed in a standard microwave.
We should read the markings on the specific container rather than assuming that similar-looking products have identical limits.
For microwave reheating:
- Remove or vent the lid according to the manufacturer’s directions.
- Avoid sudden temperature changes with glass.
- Reheat in stages when the meal is dense or frozen.
- Stir food when appropriate so hot and cold spots are reduced.
- Transfer food to another dish if the container is not clearly microwave-safe.
For freezing:
- Leave room for food to expand.
- Do not seal a container tightly while its contents are still hot.
- Allow hot food to cool appropriately before long-term storage.
- Use containers designed for freezer temperatures, particularly when using glass.
- Label meals with the preparation date so the refrigerator does not become a collection of anonymous boxes.
The container supports safe storage, but it does not replace sensible handling. A leakproof seal will not keep food fresh indefinitely, and portion markings do not tell us whether a cooked meal has been stored safely.
Build a container collection around your actual meal plan
It is tempting to buy a large matching set and hope it solves meal prep permanently. In practice, the better approach is to start with the meals we already eat.
If breakfast is usually overnight oats or yogurt with fruit, a compact leak-resistant container may be more useful than a large divided tray. If lunch is a rice bowl with chicken and vegetables, we need enough capacity for the full meal and perhaps a separate sauce cup. If dinner is reheated at home, glass may offer more value than lightweight plastic.
A useful starter collection might include:
- Several medium containers for standard lunches.
- One or two larger containers for high-volume dinners and salads.
- A few small containers for snacks, sauces, and toppings.
- At least one lightweight option for days when we carry food in a gym bag.
- Divided containers only if separated portions genuinely help our meals.
This approach also supports flexible macro tracking. We can prepare a base meal—such as roasted protein, cooked grains, and vegetables—then adjust the balance from one container to the next. A larger carbohydrate portion can go into one meal, while another gets more vegetables or a smaller serving based on the day’s training and appetite.
That is more useful than treating every container as a fixed diet rule.
The best choice depends on the friction we need to remove
Meal prep containers for fitness tracking should make a healthy routine more repeatable, not more rigid. Glass offers a clean, stable option for reheating and long-term use. Plastic keeps meals light and portable. Stainless steel brings durability to cold food storage but cannot solve the microwave problem.
For portion control, look for a capacity and compartment layout that reflect your meals rather than a generic fitness template. For macro tracking, use volume markings as a practical shortcut while remembering that volume is not identical to weight. For transport, prioritize a genuinely secure seal, easy cleaning, and a shape that fits the bag you carry.
We can make the decision simple: choose one medium container for your most common meal, one small container for your most common snack, and one larger option if your meals regularly include high-volume foods. Then use them for the next batch of food.
Your next meal does not need a perfect system. It needs a container that closes properly, holds the portion you intend to eat, and makes following through a little easier.
FAQ
Which material is best for reheating meals?
Can I use stainless steel containers in the microwave?
Are compartmented containers necessary for macro tracking?
How do I know if a container is truly leakproof?
Do volume markings on containers provide accurate macro measurements?
More products